A leather sofa is often a centerpiece in any living space—luxurious, durable, and stylish. But over time, fading, stains, or simply a desire for change might leave you wondering: Can I dye my leather couch myself?
The answer? Yes—but with the right preparation and patience says The Leather Colour Doctor.
This guide walks you through the entire process, step by step, covering everything from choosing the right dye to ensuring a long-lasting finish.
First Things First: What Kind of Leather Are You Working With?
Before diving into the dyeing process, it’s crucial to understand what type of leather you have. Not all leather takes dye the same way, and some types won’t absorb dye at all.
Check the label or manual that came with your couch. If that’s missing, do a quick water test—place a small drop of water on an inconspicuous spot and observe:
- If the water absorbs quickly, your leather is unfinished and will take dye well.
- If it beads up, the leather has a protective coating, making it harder to dye.
The 4 Main Types of Leather
- Full-Grain Leather – High-quality and untreated, this type absorbs dye beautifully.
- Top-Grain Leather – More processed but still dye-friendly.
- Bonded Leather – Contains scraps and synthetic fillers; may peel over time.
- Faux Leather – Synthetic material that won’t absorb dye like real leather.
If you’re working with suede, you’ll need a special suede dye, as traditional leather dyes won’t work.
Can You Dye a Leather Sofa at Home?
Yes, but it’s not as simple as brushing on color. Dyeing leather requires proper preparation, technique, and patience. If done right, you can revive an old sofa or completely transform its look.
Let’s break it down step by step.
What You’ll Need: Essential Supplies
Before you begin, gather the following:
✅ Leather cleaner or saddle soap – For removing dirt and oils.
✅ Leather filler or repair kit – To fix cracks before dyeing.
✅ Leather conditioner – Restores moisture to prevent brittleness.
✅ Deglazer or leather prep solution – Strips old dye or finish.
✅ Leather dye or paint – Your choice of color.
✅ Sponges, soft cloths, and brushes – For applying dye.
✅ Rubber gloves & safety goggles – Protection from harsh chemicals.
✅ Leather sealant – Locks in the color and protects the surface.
Step 1: Clean Your Leather Couch Thoroughly
Dirt and oils prevent dye from absorbing properly, so start with a deep clean.
- Wipe down the surface with a slightly damp microfiber cloth.
- Use a leather cleaner or saddle soap to lift any grime.
- If your sofa has deep stains, a mild leather-safe solvent can help.
- Let it dry completely before moving to the next step.
💡 Pro Tip: If your couch has removable cushions, clean underneath and in between creases—every spot matters!
Step 2: Repair Any Cracks or Damage
Leather ages over time, leading to cracks or peeling. Before dyeing, repair these imperfections using a leather repair kit or filler.
- Apply a thin layer of filler over cracks and let it dry.
- Buff the surface gently with fine sandpaper for a smooth finish.
- Use petroleum jelly to condition any stiff areas.
Fixing cracks beforehand ensures even dye application and prevents flaking later.
Step 3: Condition the Leather
Leather naturally loses its oils, especially if it’s exposed to sunlight or heat. Applying a leather conditioner helps restore softness before dyeing.
- Rub in a small amount of conditioner using circular motions.
- Let it soak in for at least an hour, then wipe off any excess.
- Allow it to fully dry before proceeding.
Conditioning prevents stiffness and allows the dye to penetrate evenly.
Step 4: Remove Old Dye or Finish (If Necessary)
If your couch already has a dye or protective coating, you’ll need to strip it away to create a fresh surface.
- Use a leather deglazer or prep solution on a cloth.
- Gently rub over the surface until the old dye fades.
- Wipe away residue and let it dry completely.
💡 Skip this step if: You’re dyeing the couch the same color as before.
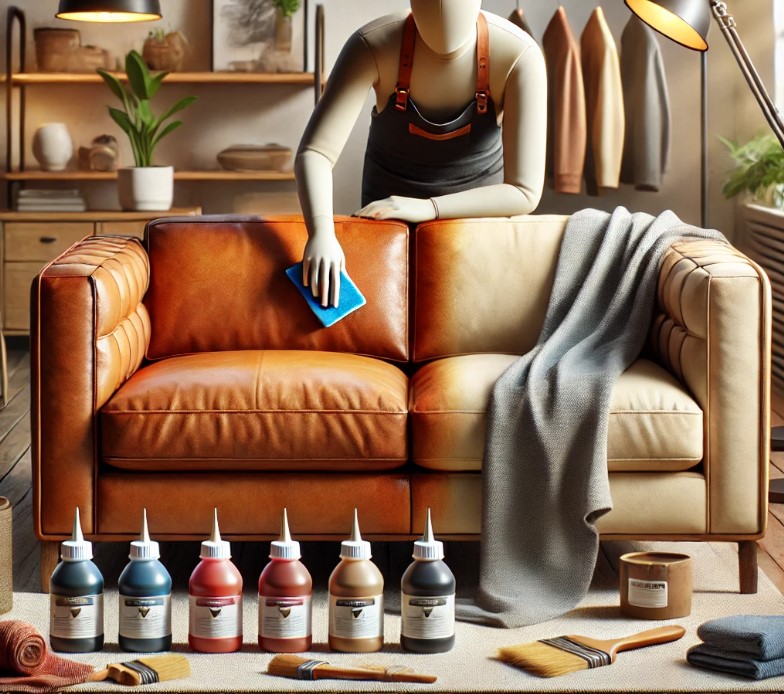
Step 5: Apply the Leather Dye
Now for the fun part—adding color!
- Dip a sponge or soft brush into the dye.
- Apply in thin, even layers, rubbing in circular motions.
- Let each coat dry completely before adding the next.
- Keep layering until you reach your desired shade.
🚨 Common Mistake: Rushing between coats. Always let each layer dry to avoid streaks or uneven patches!
Step 6: Seal and Protect Your Newly Dyed Sofa
Once you’ve achieved the perfect color, it’s time to lock it in.
- Use a leather sealant (such as acrylic resolene, wax, or oil-based sealers).
- Apply thinly with a cloth, ensuring full coverage.
- Allow the couch to dry for 24 hours before use.
Sealing prevents fading, cracking, and wear over time, ensuring your new look lasts!
Choosing the Right Dye and Sealant
💡 Leather Dye vs. Leather Paint:
- Dye penetrates deep, creating a more natural finish.
- Paint sits on the surface, offering bolder color choices.
Popular Leather Dye Brands
- Fiebing’s Leather Dye – Long-lasting, professional-grade.
- Angelus Leather Dye – Great for vibrant colors.
- Tandy Leather Eco-Flo – Water-based and eco-friendly.
Best Leather Sealants
✔ Acrylic Resolene – Waterproof and glossy.
✔ Wax-Based Finishes – Natural look with subtle shine.
✔ Oil-Based Conditioners – Deep conditioning with a satin finish.
Common DIY Mistakes to Avoid
🚫 Over-Dyeing – Too many coats without drying leads to an uneven finish.
🚫 Skipping Prep Work – Cleaning and conditioning are just as important as the dye itself.
🚫 Not Sealing the Dye – Fading, cracking, and stains are inevitable without a sealant.
Is Dyeing a Leather Couch Worth It?
If you have patience and the right tools, dyeing a leather sofa can be a rewarding, cost-effective alternative to buying new furniture. It’s a weekend project that can completely transform your living space!
However, if you’re uncertain or working with high-end leather, hiring a professional leather restorer might be the safer bet.