Ginger Bisquite

Lifestyle, DIY, Family & Food

July 17, 2013
by Jenni Clutten
3 Comments

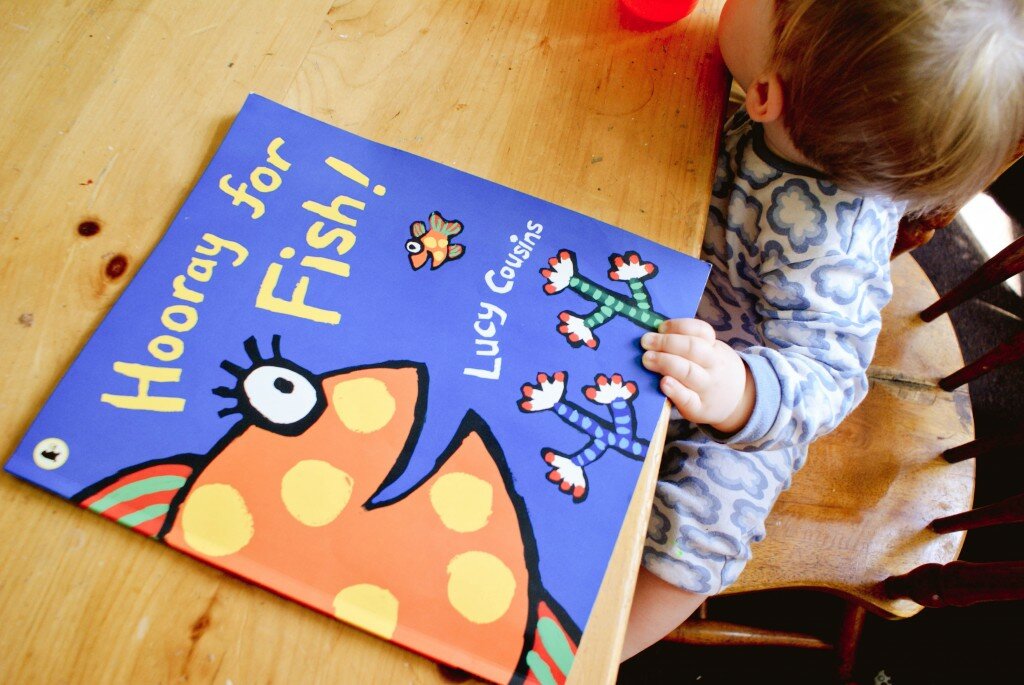
We Like To Read – Lucy Cousins: Hooray for Fish

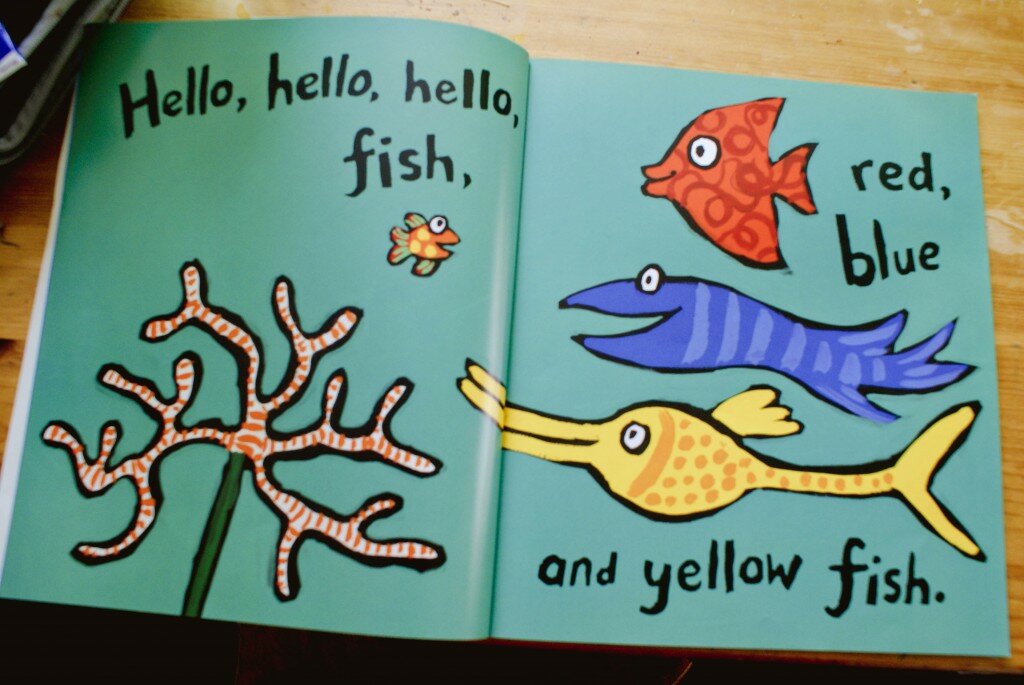
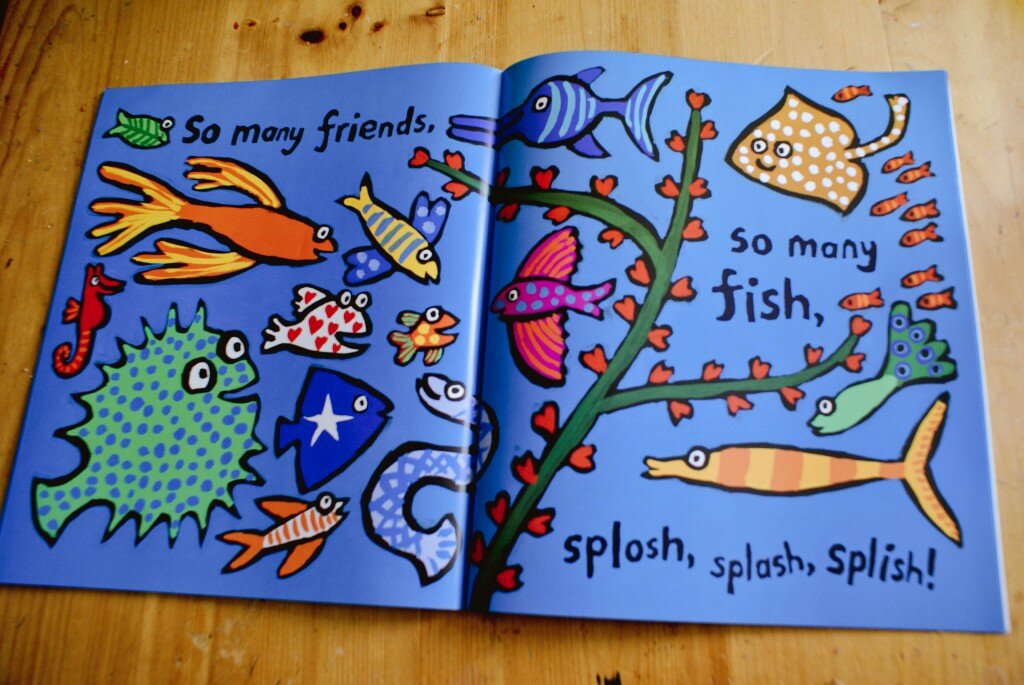
I have  been meaning to join in with the We Like To Read linky on TigerLilly Quinn blog for months.  Problem is, every time I have a free moment to blog, Nye’s favourite books are trapped in his nursery while he is sleeping.  As this book is his most favourite one without flaps and has great illustrations I sneaked it out after bedtime yesterday and photographed this morning.

We like to read we like to read SONY DSCThe lovely illustrations and fantastically fun rhyming words make for an interesting combination.  Proper picture books like this don’t usually hold Nye’s attention but the Lucy Cousins collection he recently received from his Nan seem to be different.  I find them really fun and friendly, and even though I read this one at least once a day I still enjoy it too.

SONY DSC

July 14, 2013
by Jenni Clutten
0 comments

Liberty Print Shoes – Stylish Sunday

We made a quick pit stop to the shops today to run some errands and whilst I was there I thought I would take a peak in the Clarks Sale.  It was a mistake as I spotted the Clarks Liberty print shoes.  A collaboration which is simply stunning.  How have I only just found out about this!?

Clarks Sale

I’ve had a look on their website in the hope that they had a wider selection than my local shop but unfortunately not.  These shoes are gorgeous and a bargain in the sale so if you like, I’d recommend hot footing it off to your local store.  I tried a pair of the courts on and they were really comfy, I convinced myself that I have nowhere to wear them.  I’m now thinking of heading back to the shop tomorrow!

p.s This is not a sponsored post, I just wanted to share this great find with you.


July 11, 2013
by Jenni Clutten
1 Comment

Summer Holiday Planning

Summer Holiday Planning

It’s been a busy few days here as we finally wind down for the summer holidays.  My husband is a teacher, so our lives revolve around school timetables.  This year for the first time Neil hasn’t arranged other jobs for him to do so we have been able to plan exciting things with a full 6 weeks ahead of us to spend just the three of us (plus bump).

The first summer activity we booked was the The Big Feastival.  We won tickets to it several years ago when it was held on Clapham Common, pre baby, and had such a relaxing and memorable time.  This year it is being held in the Cotswolds on Saturday the 31st August and Sunday 1st September.  We have decided to go on the Sunday which is actually the last day of the holidays before school starts again.  I’ll be interested to see what it’s like going with a child, rather than as a couple, but really it looks perfectly set up for Children with the Little Dudes Den and access to the Cotswolds Farm Park. Oh and did I mention that Justin, aka Mr Tumble will also be there on the Sunday! (I think a part of the 25 year old inside me just died as I typed that…)  Needless to say the food and music will keep Neil and I happy whilst Nye can dance, draw and be entertained by all the activities going on.

I am also ecstatic to have finally booked our first family holiday abroad.  In late August we will all be heading off to Normandy  in the company of great friends, to stay at my dads wonderful house there.  It only works out as 4 days but the idea of showing Nye new places and emersing him in new languages and food is really exciting.  I can only hope, as I look our the window on todays sunshine that the weather will be kind to us.  Our last holiday was our wonderful Center Parcs weekend break, and before that our babymoon.  So I’m pleased to see regular holidays coming back in to our lives.  Holidays are certainly a luxury for us, we’d never enjoy ‘getting away’ from everything if we knew we couldn’t afford to do it.  So, here’s to hoping we can keep saving those pennies.

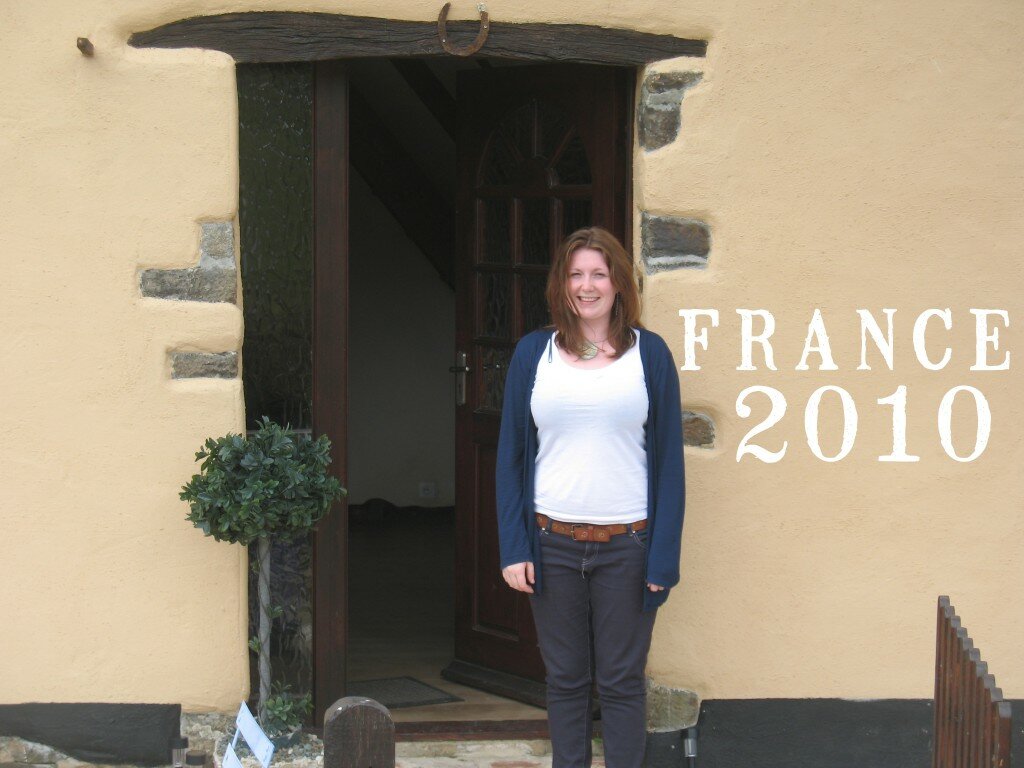
France 2010 112

The house is based in a small village in the Calvados region and I am already planning a trip to the zoo I went to with my dad many many years ago.  However, my main focus will just be lovely food (lots of patisserie shopping), in relaxing and sunny surrounds.

Fingers crossed that we’ve sorted the summer holiday planning.  I just can’t wait for the end of term!

July 5, 2013
by Jenni Clutten
0 comments

Photo Canvas Review from Photobox

Photo Canvas Review

As I have mentioned before, I love photos, so when I was contacted by Photobox about doing a photo canvas review I was very excited to order.

I have been using Photobox for years to print my photos but I had never ordered a photo canvas from them.  As always it was very easy to use the website, I simply selected the classic photo canvas option, chose the size and then I was ready to choose the photo.  As I have previously ordered some much smaller canvases I was keen to see what the quality of a larger one would be, so I chose the 61cm x 40.6cm size.

One of the great things about Photobox is that once you have uploaded your photos you can see the picture quality on each image, indicated by happy and sad faces.  As this was a big canvas I specifically asked my wonderful photographer friend Danielle Benbow if she could send over some of the pictures she took of us when Nye was born.  Luckily she was happy to oblige and I was so chuffed with the results as the image really captures a moment I don’t ever want to forget.

When the canvas arrived I couldn’t wait to get it open to have a look, and I was particularly impressed with how quickly the canvas was delivered.  When I have previously ordered a photo canvas from a different supplier, they took months to arrive.  This arrived in less than 7 days and was perfectly packaged in a double layered cardboard box that was made to measure for the canvas itself.  The delivery and tracking service was also fantastic as I was given a specific day and time slot in advance with the opportunity to change this, if it was not suitable.

Overall we are really pleased with the canvas, I was quite surprised by just how large it was, but thankfully found the perfect spot for it in our hallway.  Now all you have to do is visit PhotoBox for a photo canvas of your own!

DISCLOSURE: Photobox credited by Photobox account with the full fee of the photo canvas and postage for the purpose of providing a review of their product.  The content of this post is my own and you can be certain that all reviews are 100% honest.

How Does Your Garden Grow – July

July 4, 2013 by Jenni Clutten | 12 Comments

How Does Your Garden Grow

Elderflower Cannopy

Whoops, I managed to miss last weeks how does your garden grow, but I am back this week and typing and editing furiously as nap time reaches it’s impending end. Thanks again to Mammasaurus for letting us all link up.

This week I have taken a few snaps of the front and back garden which I hope you will enjoy.

Come on Carrot.

SONY DSC SONY DSC SONY DSC SONY DSC SONY DSC SONY DSC SONY DSC SONY DSC

Raspberry Leaves

Raspberry Leaves

Anybody know what this is? It came with the house!

Edlerflower

 Although lots of flowers have been out and blooming heavenly, there are some still some much anticipated arrivals, including the passionflowers which I started training through our front garden wall last year.  Once they bloom, and the buds tell me this may be imminent, I think they will look awesome as you walk up to the house.

collage.


Thanks for dropping by, here’s my previous How Does Your Garden Grow post which you might also enjoy!

July 4, 2013
by Jenni Clutten
2 Comments

It’s a girl!

It's a girl scan.collage.1

It’s a girl

Today I am ecstatic to tell you all that it’s a girl!

We had our second scan this morning and after our lady like lady had finished crossing her legs the sonographer was happy to tell us she was 95% sure it was a girl.  All the measurements look just fine, hitting the 50th centile for everything at this point.

Now I’m just bursting to head into the loft to leaf through all the clothes I packed away this time in my last pregnancy, deemed to girly for my darling boy.  This basically means dresses, as I have been happy to put him in flowers and pink!

So here’s to our little girl who will have a doting big brother to look out for her and walk with her to school on her first day.  We can’t wait to meet you and shower you with kisses.

xox

Organix Finger Food Video & Giveaway!

July 1, 2013 by Jenni Clutten | 15 Comments

Last week I was contacted by Organix asking if I would like to see a preview of a new they have put together on the many benefits of Organix finger foods in the weaning process.  The video is called  ‘Learning to love food is as easy as ABC…’ and informs parents about social skills, and how mealtimes can help babies’ development in this area.

We have been enthusiastic baby led weaners so Nye has had fingers foods from 6 months old.  At first just simple things so he could get used to a range of different flavours and textures and then gradually moving on to a broader range of meals that we already eat at home.   So, I was really keen to see the video as someone who already offers Organix snacks when Nye and I are out and about.  I was particularly happy to see the  have been so impressed with Nye hand eye coordination development and general social skills, so it’s interesting to see how these things may well link up.

To celebrate today’s video release Organix are offering 3 lucky readers the opportunity to win a sample pack of their two new finger foods , Strawberry Rice Cakes and Multi Grain Hearts with Strawberry.

new finger foods 2new finger foods

To enter, just use the rafflecopter below.

a Rafflecopter giveaway

June 30, 2013
by Jenni Clutten
4 Comments

Update Your Front Garden – Stylish Sunday

Hello and happy weekend to you all.  I’m back with another Stylish Sunday post and this week it’s a lovely collection of items you can buy to update your front garden.

Last week I shared a few pictures of my front garden and all the lovely comments and pins of the image of my made me think it might be a good idea to share some tips on how to make a quick, easy and cheap transformation.

Update Your Front Garden

Sources

The mood board I’ve put together gives a general idea of some of the ways that you can play with colour and texture in a front garden and the fun thing is to add something every few months which therefore spreads out the costs.

Thrifty places to buy great front garden stuff:

  • Supermarkets (Sainsburys and Morrisons)
  • Local Market Stall
  • Poundland and 99p store
  • Homesense / TK Maxx
  • Freecycle
  • Discount Section in Garden Centre’s
  • The Range (those with a gardening section)
  • Dunelm Mill
  • Ikea
  • Argos

Front Garden

Grow, grow grow:
I haven’t always been the most natural gardener, but climbing plants I would recommend as good value for money are the passion flower, which grows like a weed and has the most exotic flowers and the Jasmin which is equally beautiful, smells heavenly and grows without fuss. (I bought mine on a 3 for 2 at Homebase.)  I like to buy perennials for the flower beds as these grow back year on year and my favourite has been lavender, (ours has grown about 8 x it’s original size in 2 years) and the Hebe, which has beautiful purple flowers. (Also from Homebase)  I also have lots of bulbs as these too grow back but are only around for short periods of time, daffodils and gladioli are striking and I want to try tulips but haven’t got round to it yet. (So far I’ve bought my bulbs from Poundland and The Range)

Paint the town:
Another thing that has made a massive difference has been masonry PAINT!  I managed to convince my husband that we didn’t need to knock the 1970′s wall from the front of the house but instead painted it and it has been money well spent.  Even though the paint itself was nearly £20, just freshening up the exterior can make the curb appeal massively improved.

Accessorise:
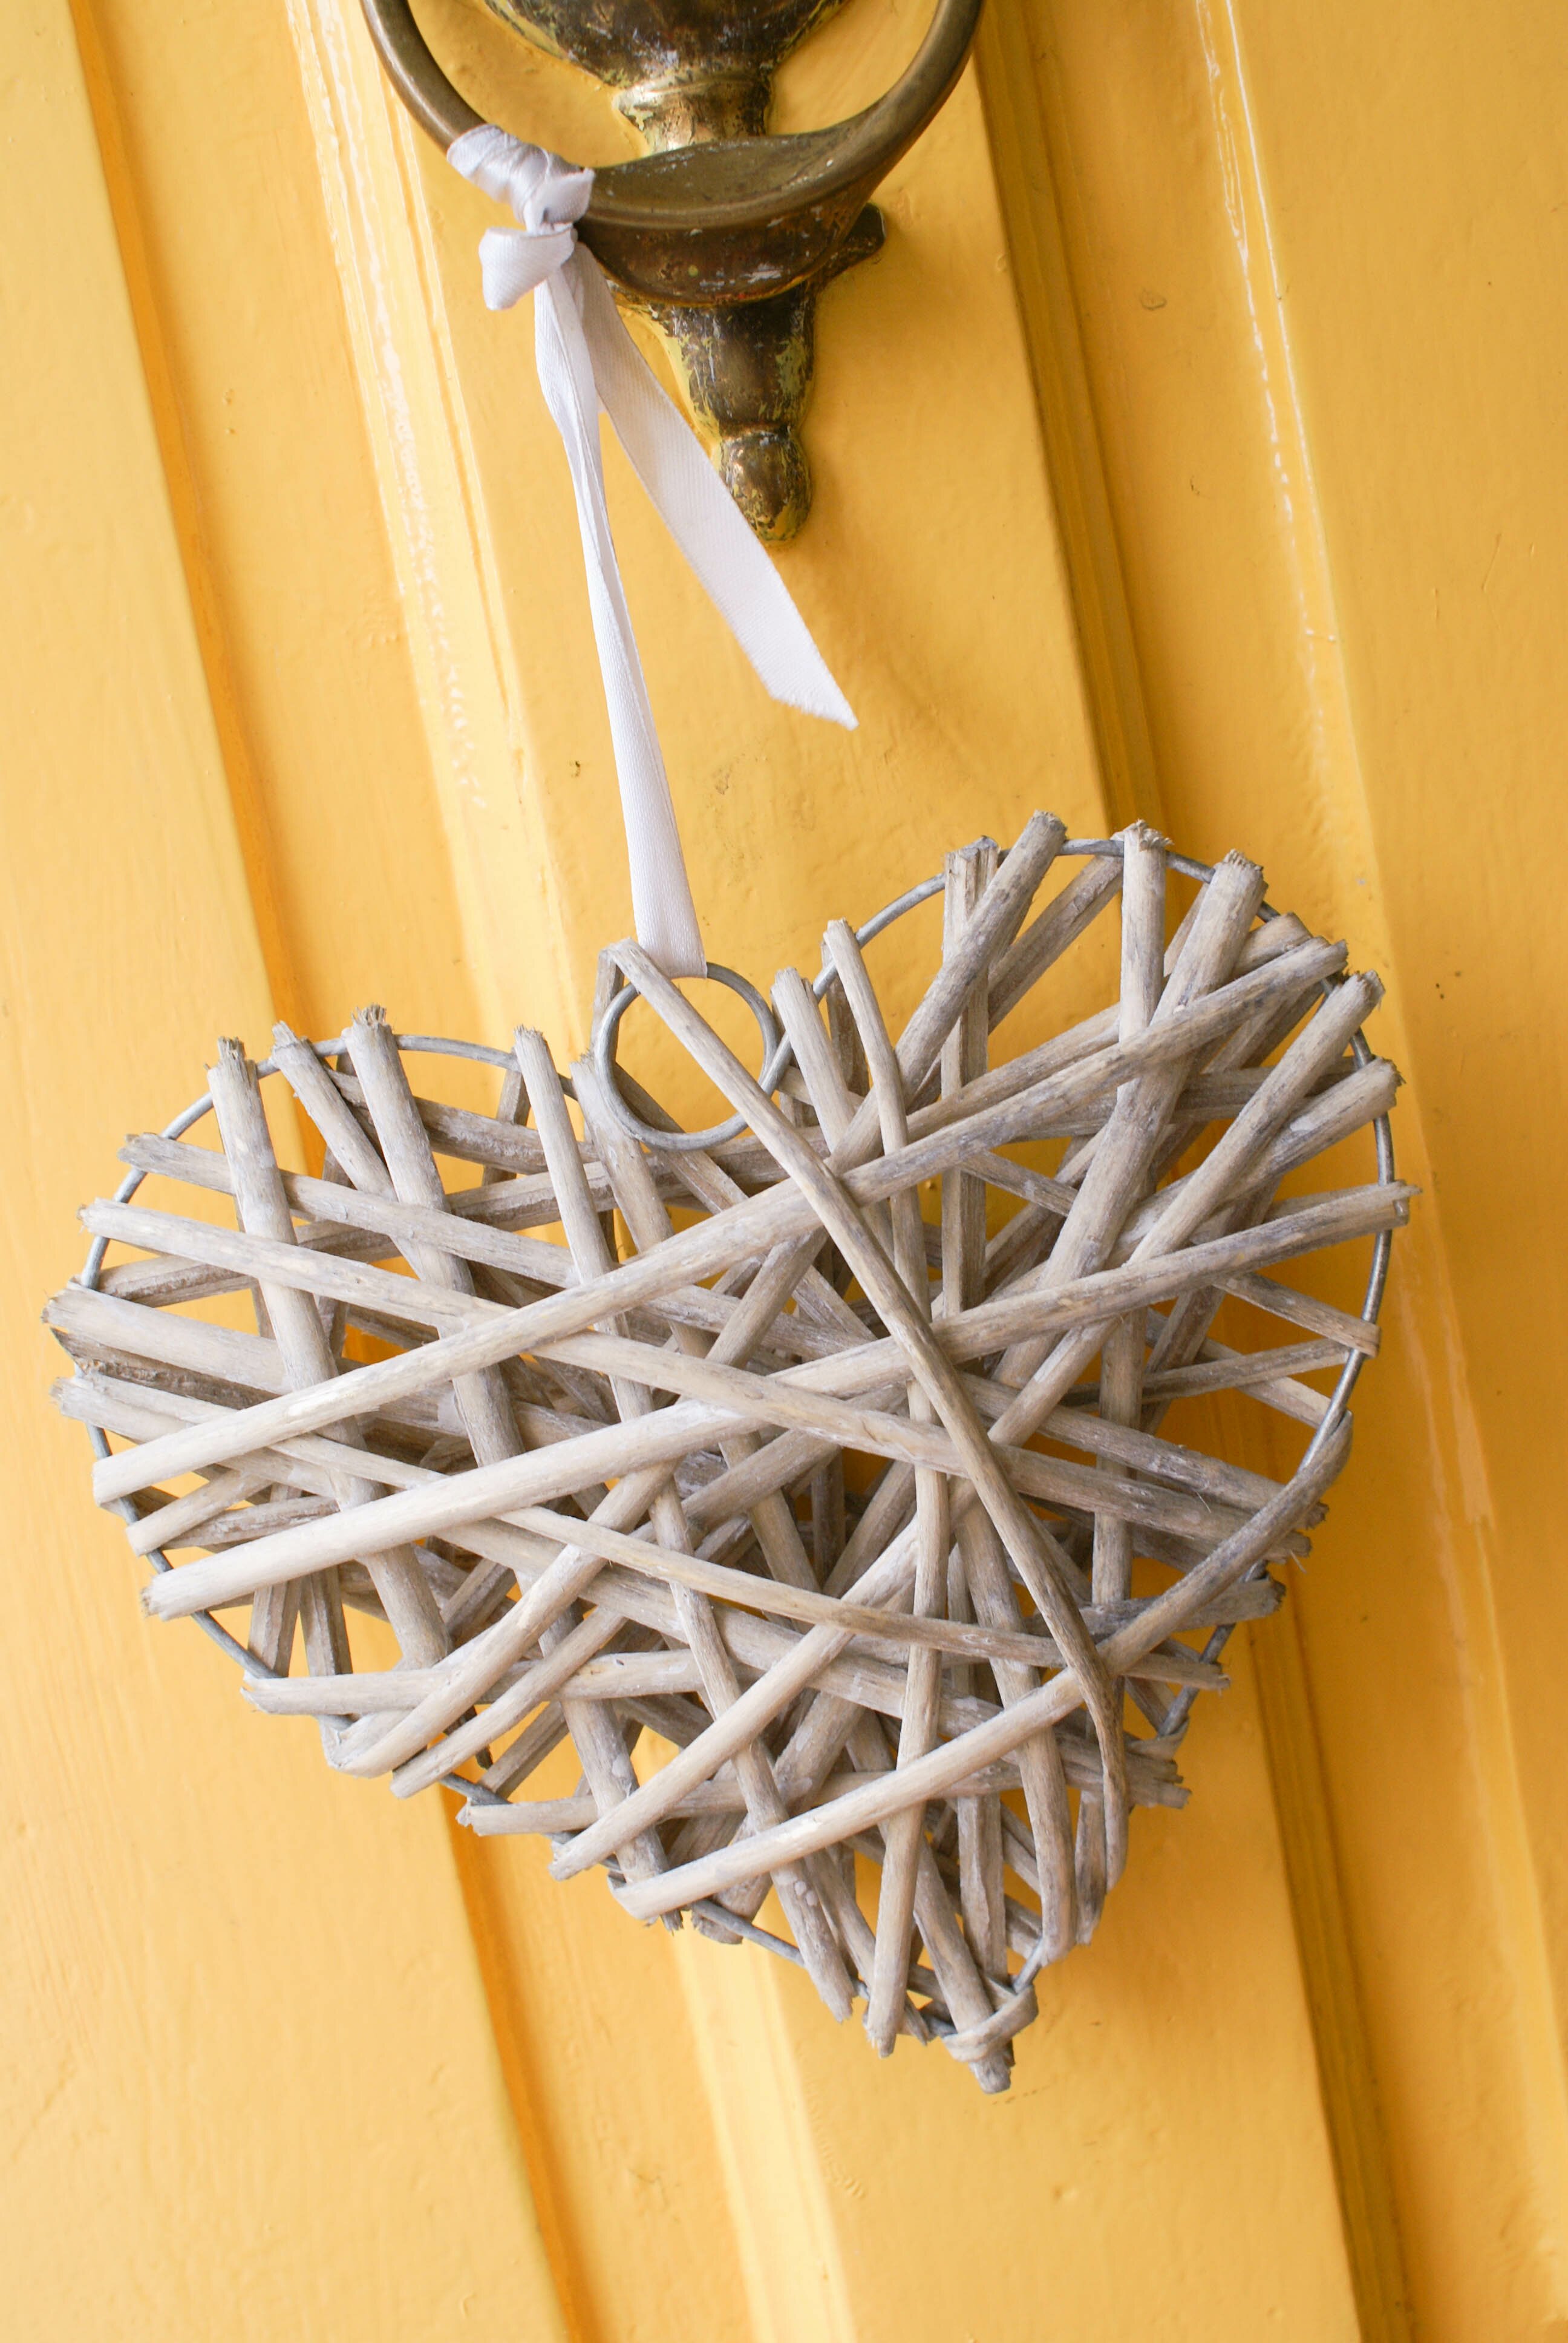
Like with any room inside the home, what makes each room personal is the finishing touches and these can be hard to find on a budget for the garden.  We have a wicker heart on our front door which really makes the house will like a home.  I got this from Primark for £1.99 but you can find nice ones at Dunelm Mill.  My tip would be avoid going to garden centres for the accessories as they tend to be hugely marked up, try the less obvious places like Primark or the 99p store instead.

p.s This post is not sponsored, I’m just sharing my tips for great places to buy garden goods without breaking the bank.
DIY Children’s Tent – UK Version

June 27, 2013 by Jenni Clutten | 0 comments

Nye is now 18 months old, and I have been wanting to find some more creative activities that will provide opportunities for imaginative play.  Den’s are an excellent example of toys that can be used for multiple purposes, inside and outside and will last and be enjoyed for years.  I still remember being addicted to making dens in our house as a child so this months Center Parcs June Challenge was the perfect push I needed to create our very own DIY Children’s Tent.

DIY Children's TentI remembered immediately that I had pinned a DIY A Frame Tent on some time ago and sought immediately to track it down on one of my numerous boards.  I eventually found it, wrote down all the measurements and headed out to look for some suitable material in local charity shop and DIY store.  However, it soon became apparent that I wouldn’t be able to find the exact measurements as the widths of wood in the UK are different to America (mm here and inches there.)

So, with that in mind I thought it might be helpful to share the measurements I used so that the DIY is a little easier for people this side of the pond.  I also took the advice of  Rubyellen who suggests that you could use a single bed cover instead of fabric.  For me this meant the cover was double sided (fishes on the inside and out) and also that I did not have to hem the fabric. (Hurrah) I was also feeling extra cheeky as I had no elastic to sew to the cover and managed to clip the edges of the fabric to the frame using elastic bands and string.  But, having used this for a few days, I think sewing on the elastic will mean I don’t have to keep tying the edges down every 24 hours.

YOU WILL NEED

For the Tent Cover

  • 1 x single duvet cover (135mm x 200m) – you could also use fabric cut to any size you would like and just alter the length of the wood to accommodate.
  • 1 meter of elastic
  • Scissors
  • 4 x Elastic Bands

For The Frame

  • 2 x 18 x44mm x 2.4m
  • 1 x 18mm x 2.4 dowel rod
  • Drill
  • 18mm or 19mm flat wood drill bit (I used 19mm because that’s the closest we had to 18mm)
  • Hand saw
  • Tape Measure
  • Pencil
  • String

First of all I must say the instructions on the original A-Frame blog post are really clear and include pictures that are incredibly helpful.  I am going to write a quick run down of what I did, just because I did make a few alterations to try and make the whole process a bit quicker.  But if you get stuck, please click on the link and the photos there will help you!

  1. Start by using the hand saw to cut the 2 x 2.4m wood lengths in half.  Once this is done you will have 4 x 1.2m lengths which will make the A frame.
  2. Next use a hand saw to cut the circular dowel that creates the top of the tent.  I cut mine to 147cm.
    I calculated this length by using the width of the fabric (135cm) and then adding 6cm on to each end (135 + 6 + 6) = 147cm.  This then allows for the a frame to be added on to the end with a little room keep it all together.
  3. We then measured up to drill the holes in the 4 x A frame.  To do this I used a tape measure to mark 15cm down from the top of each leg the marked a cross in the centre of the wood (22mm) which showed where the drill bit needed to go.
  4. Once each leg was measured up we used a 19mm drill bit to create a hole for the top dowel of the tent to be inserted.
  5. Next I inserted the dowel into the four holes to create the basic frame of the tent and stood it up ready for its finishing touches.
  6. Once the frame has been created you can then hang the fabric over it and line up the legs at each end.
  7. As I was unable to find a 18mm drill bit and used a 19mm one instead,  I then used some string to secure the legs into place.
  8. Finally once I was happy with how the cover was hanging, I used an elastic band on the bottom of each leg to secure the four corners of the fabric.  For good measure I then tied some string around to keep them as tight as possible. (You could sew some elastic directly on to the fabric to make for a more hard wearing tent)
  9. Enjoy your new DIY Children’s Tent by adding some cushions and blankets!

I am writing this post in my capacity as a Center Parcs family blogger.  For a chance to become a Center Parcs Family Blogger and to win a family break to a Center Parcs village of your choice, simply share pictures of your outside hideout on your blog, letting Tots 100 and Center Parcs know that it’s your entry into this month’s challenge. Then just tweet us a link to it – be sure to include the Center Parcs and Tots 100 handles in your tweet, and don’t forget to use the #CPFamilyBreaks hashtag before the challenge closes on June 28th.

This gallery contains 0 photos

June 23, 2013
by Jenni Clutten
0 comments

Summer Family Time – Weekend Roundup

This weekend has been a relaxing one full of lots of summer family time.  So, as a change to my usual Stylish Sunday post I thought I’d give you an insight into some of the links that I’ve been diggin’

Asian Chicken Fried Rice

Asian Chicken Fried Rice via Playful Cooking

FANTASTIC FOOD

DIY DELIGHTS

  • A Frame Tent – I converted these to UK measurements and will post my version next week. (p.s I also made it 100% easier and did no sewing!)
  • I need to be more organised – Perhaps Meal Planning is the way forward.

GOOD READS -

  • I am a regular admirer of this compilation of eclectic children’s interiors.
  • These always amaze me – this week it’s Louis Vuitton.

I hope you’ve had a wonderful weekend and enjoy the links above.

Is there anything you’ve really loved making or reading this weekend?  Please feel free to share in the comments box below.

Categories: family, links, round up | Permalink