Make your own chocolate egg
April 13, 2014 by Jenni Clutten | 1 Comment
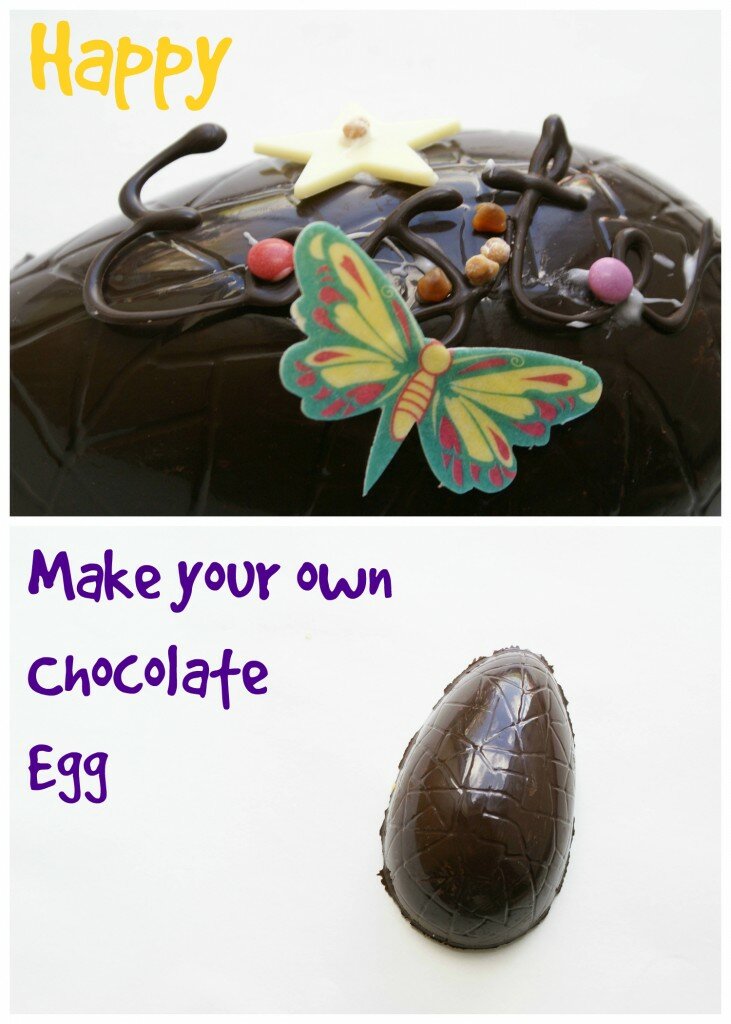 Happy Easter everyone! Have you had a good first week of the holiday? We’ve been tackling the spring cleaning here, but that hasn’t stopped us making a bit of a mess in the kitchen.
Last week Waitrose got in touch to ask if we would be interested in a bit of creative Easter Inspiration. I said yes please, and awaited for my box of goodies to arrive. I can tell you it was a good post day when a package of sweets and chocolates arrived and I was so excited to lay things out for Nye to have a go at creating his own egg.
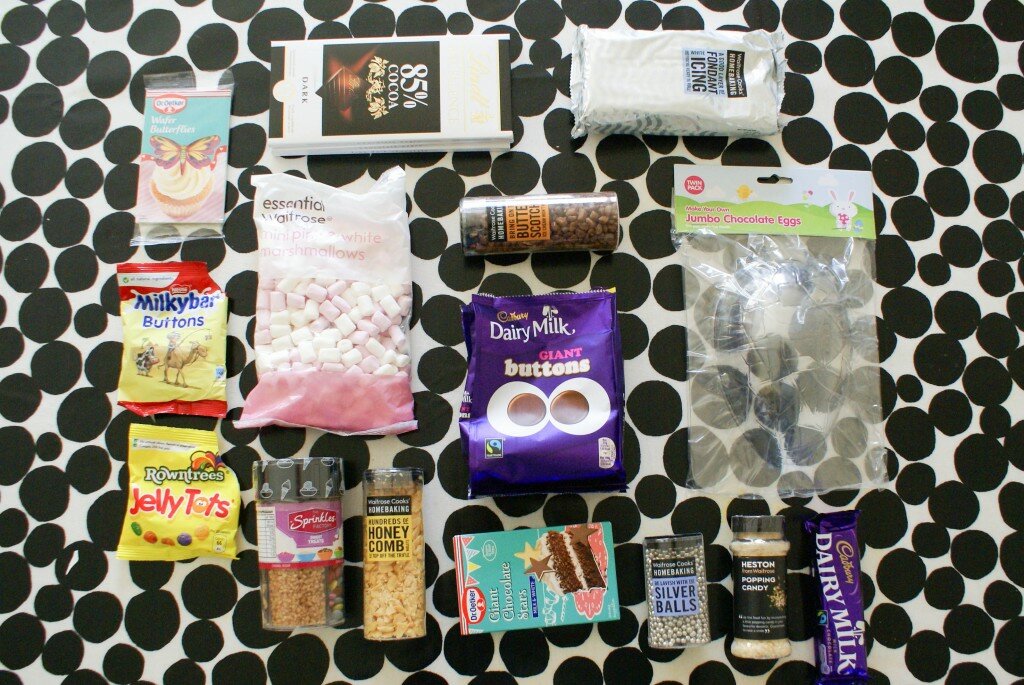
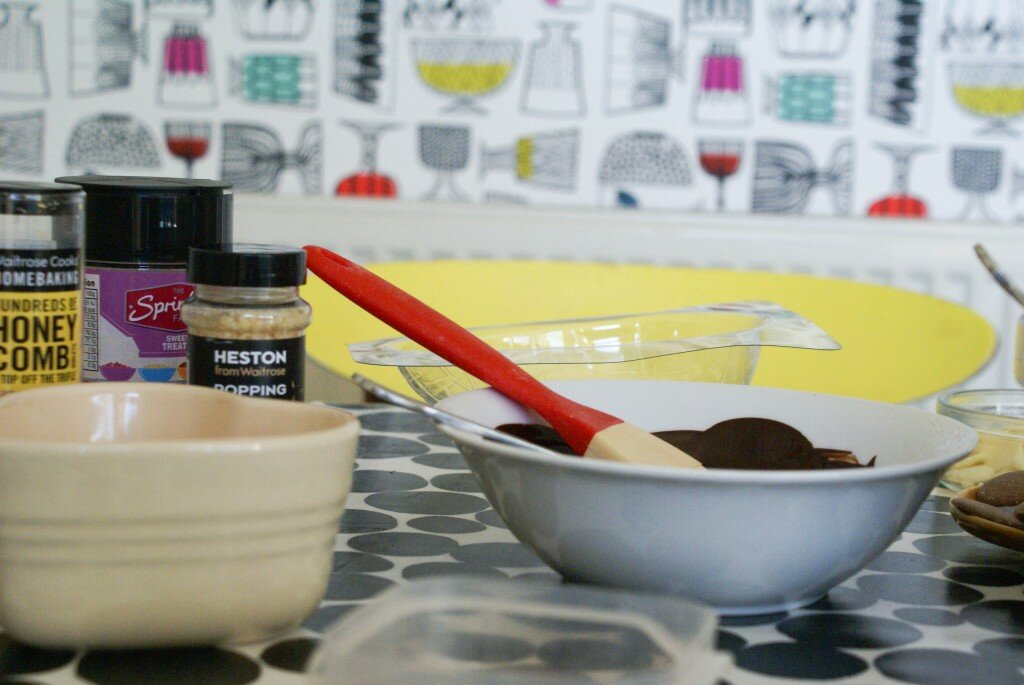
Ingredients
250g of good quality dark or milk chocolate – remember to save a little extra for decorating
What you’ll need
- 2 chocolate egg moulds
- Flat pastry brush or small paintbrush
- Heat proof bowl
- Spoon
- Pan
Step 1 – Melt chocolate in a heatproof bowl over simmering water in a pan.
Step 2 – Paint a thin layer of chocolate inside the egg moulds, making sure it meets the edges of the mould. Depending on the size of the moulds you may need more chocolate, have plenty on standby!
Step 3 – Chill for 5 minutes or until the chocolate is firm.
Step 4 – Spread another even layer of chocolate over the first layer and let cool for another 5 minutes or until firm.
Step 5 – Gently ease the mould away from the chocolate. Join the chocolate halves together with a little melted chocolate, using a flat pastry brush or small paint brush – That’s it! Well done, you have made your very own Easter egg!
Decorating tips:
- Melt a little extra chocolate and use this to stick on chocolate buttons and small light sweets that won’t fall off like marshmallows or sugar-coated jellies
- Using icing piping to draw on simple Easter shapes such as chicks, rabbits and lambs to give your egg a fun farm theme
- Personalise your egg by writing the recipient’s name in icing piping and use decorative sweets that represent their personality
- Why not turn you egg into a person or an animal? For example use sweets and chocolates for eyes and fur. For an Easter afternoon activity, make an egg that resembles a family member
- Dip your finished egg in melted chocolate and roll in hundreds and thousands or popping candy for a textured knobbly effect
- Why not try white chocolate to make your Easter egg
- Before sealing the two halves, hide an Easter treat inside? Maybe some small sweets, a surprise Easter toy or just a note to say Happy Easter!
- For a more indulgent egg why not add to the melted chocolate when you’re still preparing the egg, try butterscotch chunks or honeycomb pieces for a real treat!
Egg Inspiration:
Nye created a kind of Rocky Road chocolate egg with marshmellows and chocolate buttons mixed into the shell of the egg along with some lovely crunchy honeycomb bits. The Chocolate was very thick so it took longer to dry but it was very delicious and came out of the mold easily.
I created a more simple egg, sprinkling popping candy and butterscotch pieces on the inside of the egg after I painted on the second coat. A lovely crackling and crunchy surprise for whoever bites into the egg. To decorate I made a piping bag and piped some easter designs onto a sheet of baking paper and stuck these onto the egg using some fondant icing as edible glue.
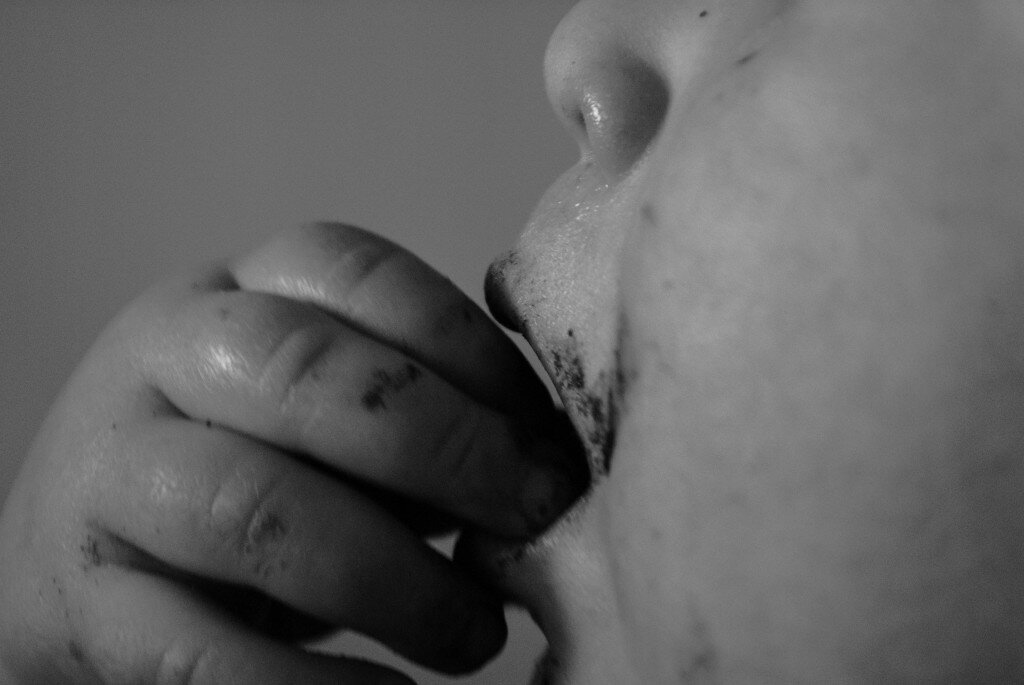
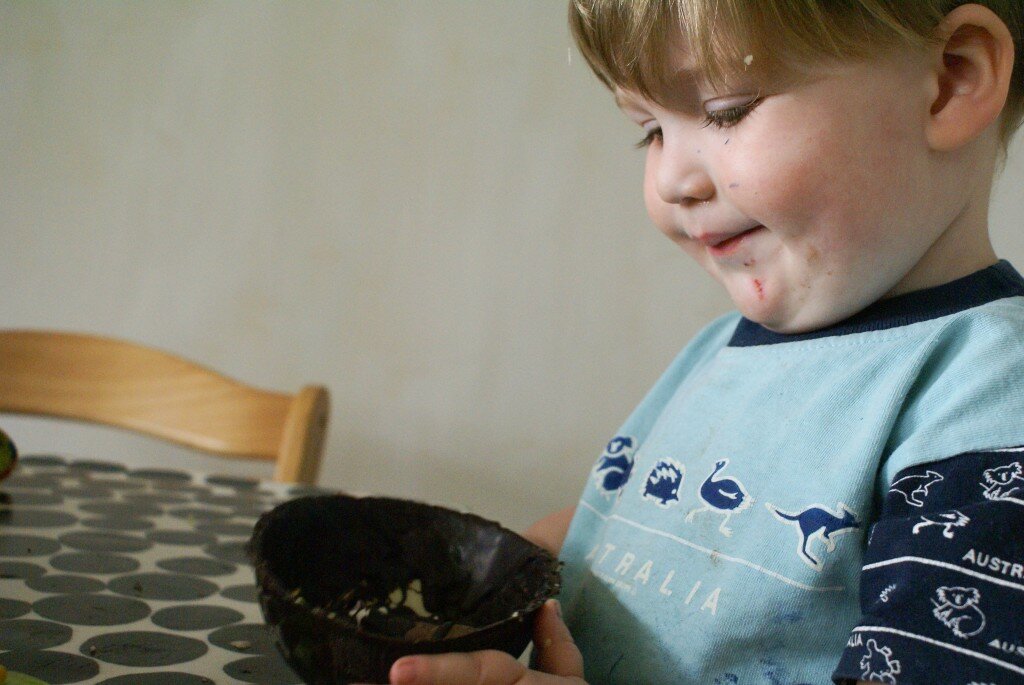
As you can see, Nye was very proud of his egg creation. Fancy having a go, what sort of egg would you make?
Disclosure:
Ingredients and instructions supplied by Waitrose, photos and words my own.


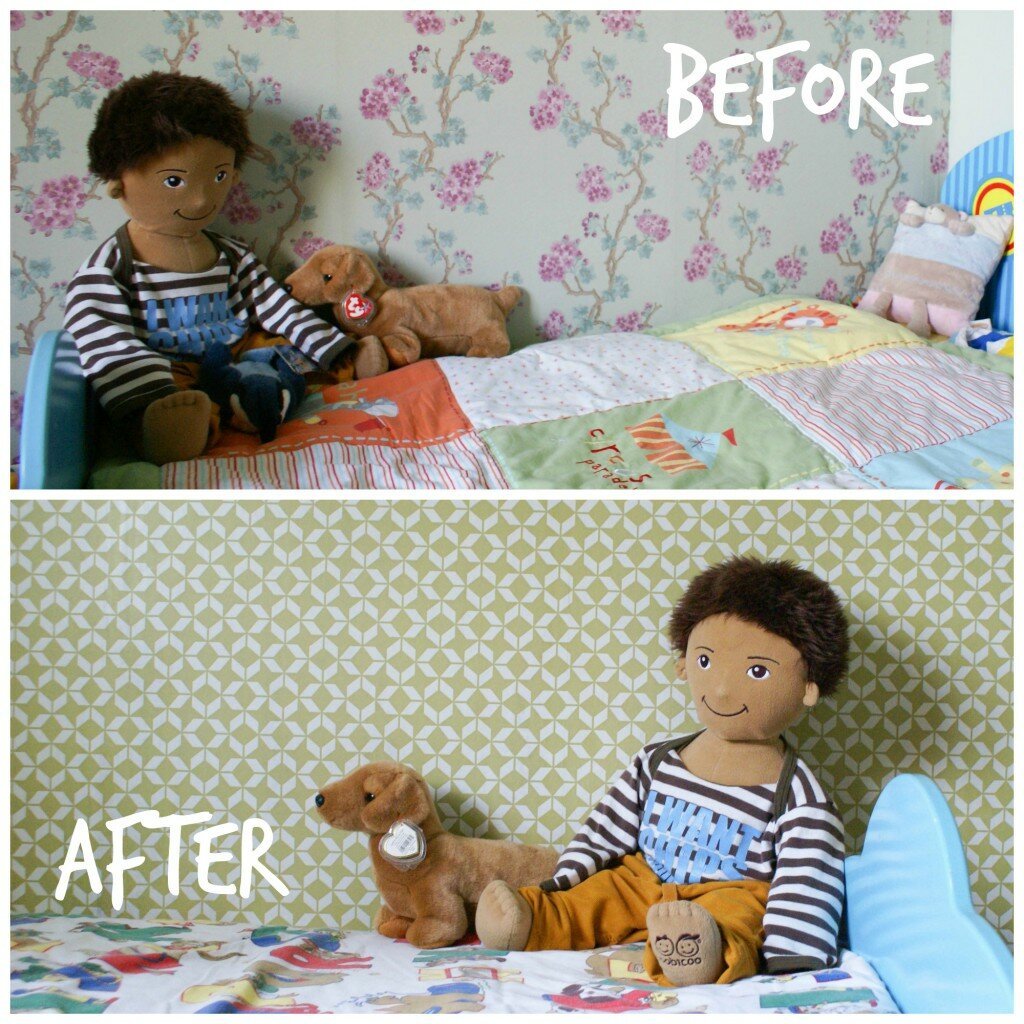 I have an admission to make – despite lusting over many a design, I have never actually hung wallpaper. Many times have I admired it, shared it and dreamed of it but never had it graced my walls. I was a first time wallpaper’er.
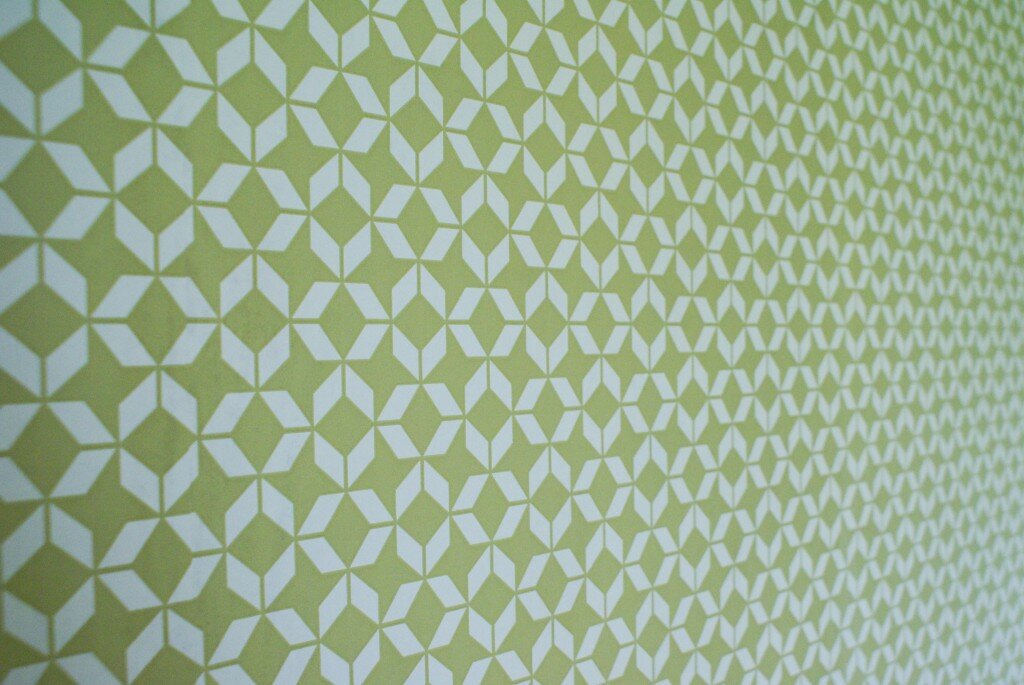

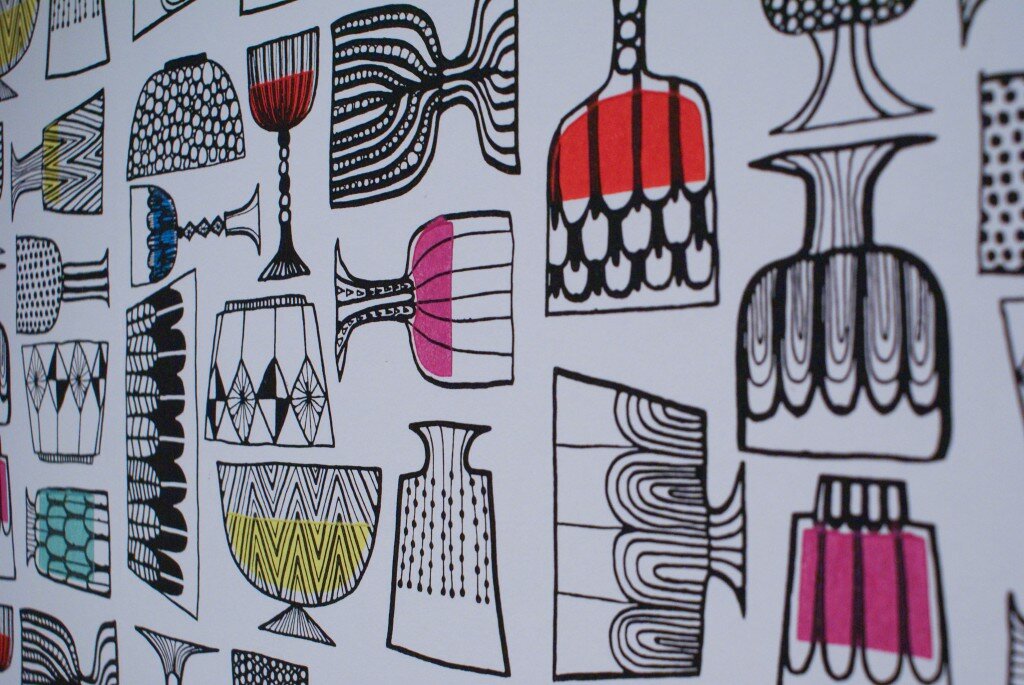 There’s still much to finish off in the bedroom and dining area but I’m so pleased to know that we’ve at least
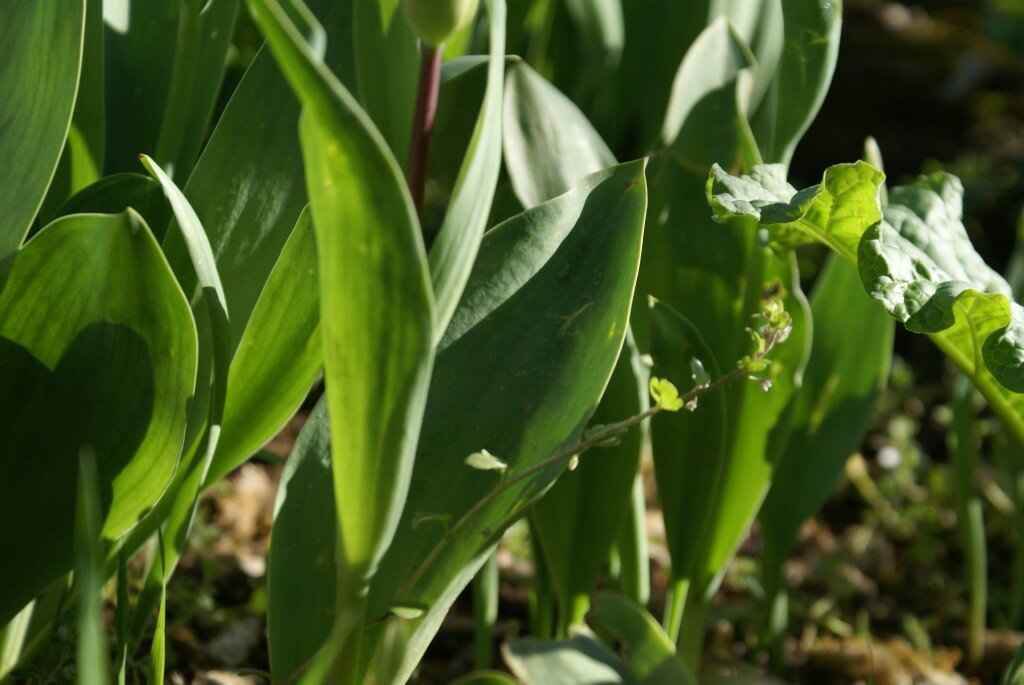
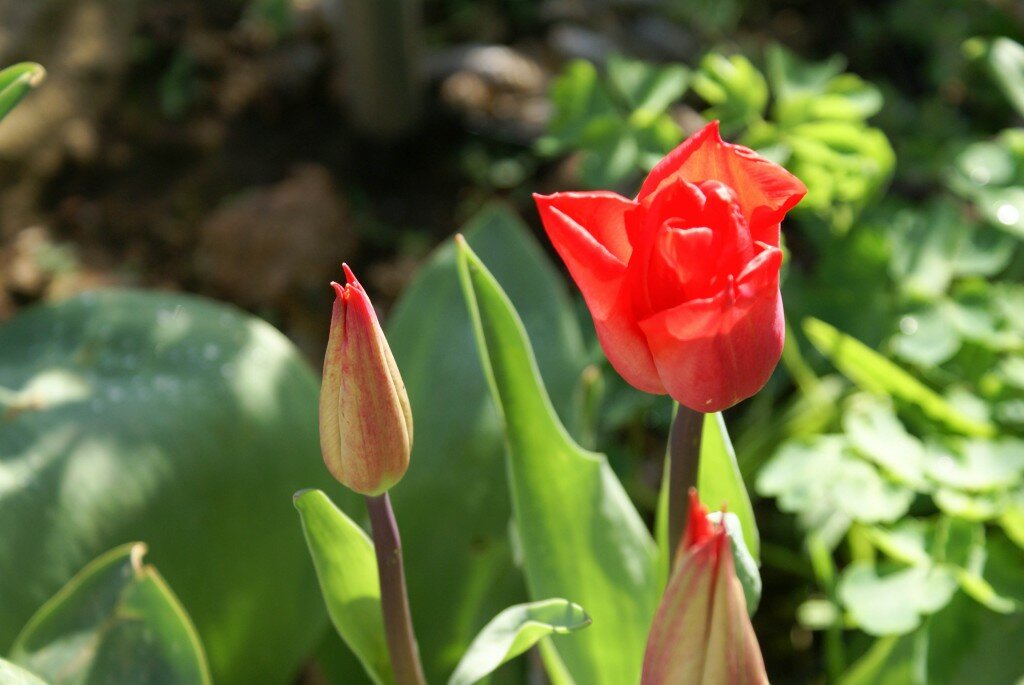
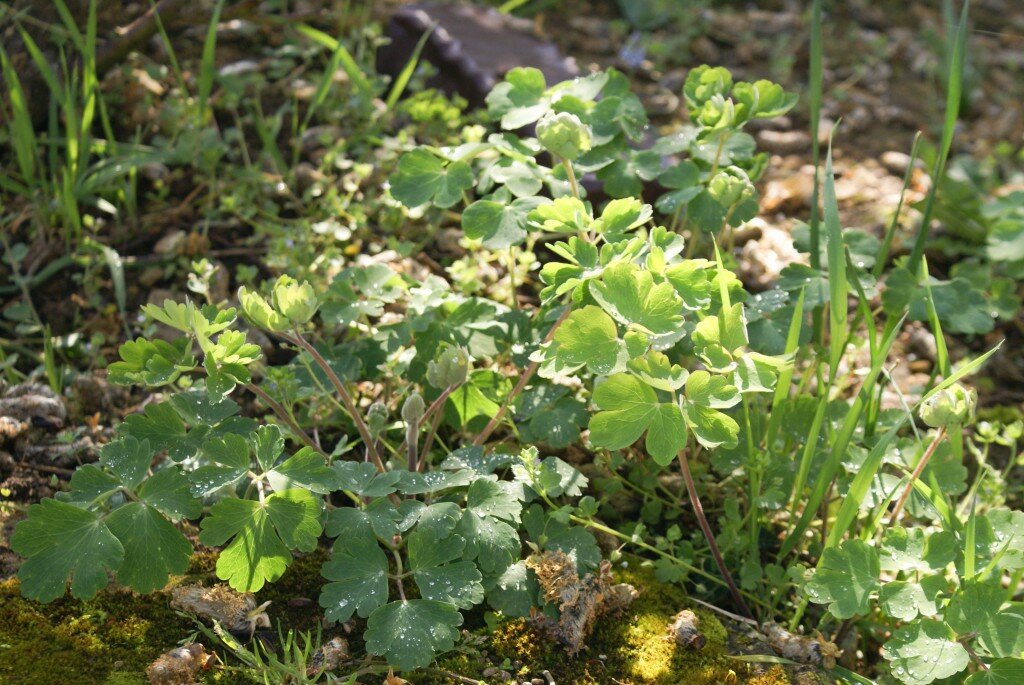
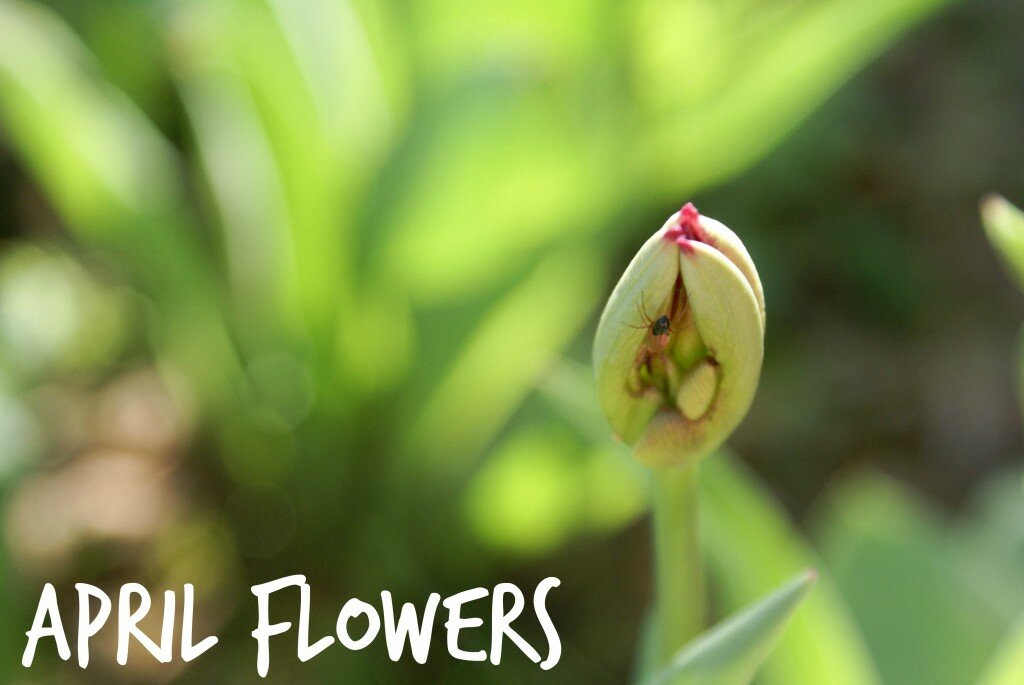 Hurrah, the garden beds are finally filling out with lush foliage. Tulips galore in beautiful reds and purples as well as blossom and new leaves sprouting on all the trees. Here’s a snap shot of our April garden, including some nettles as well as a few unknown flowers, and possibly some pretty weeds…
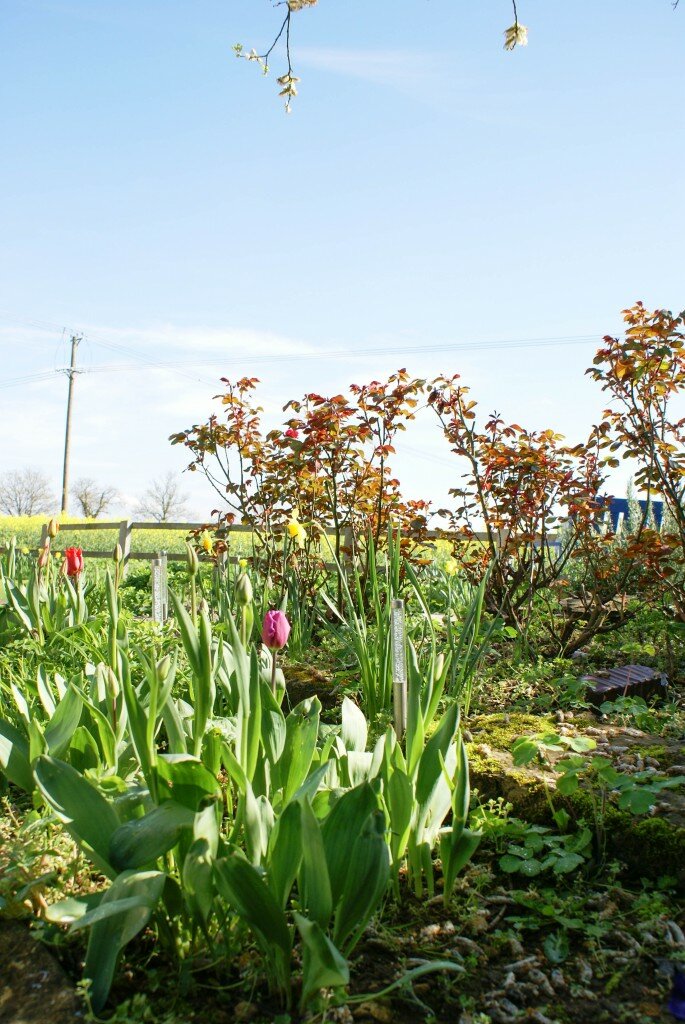
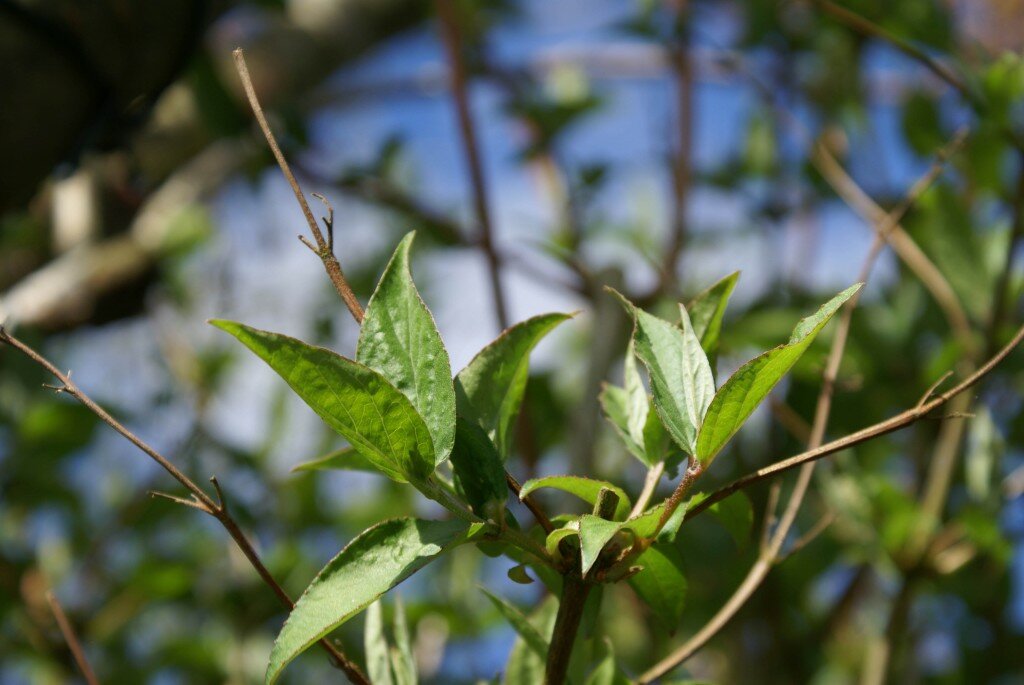
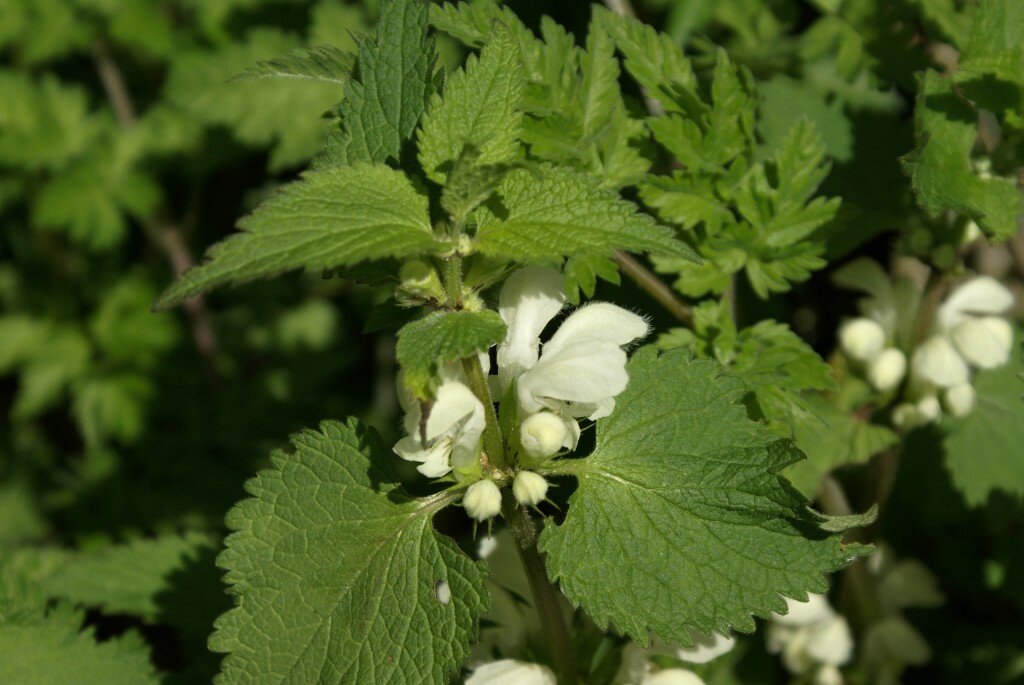

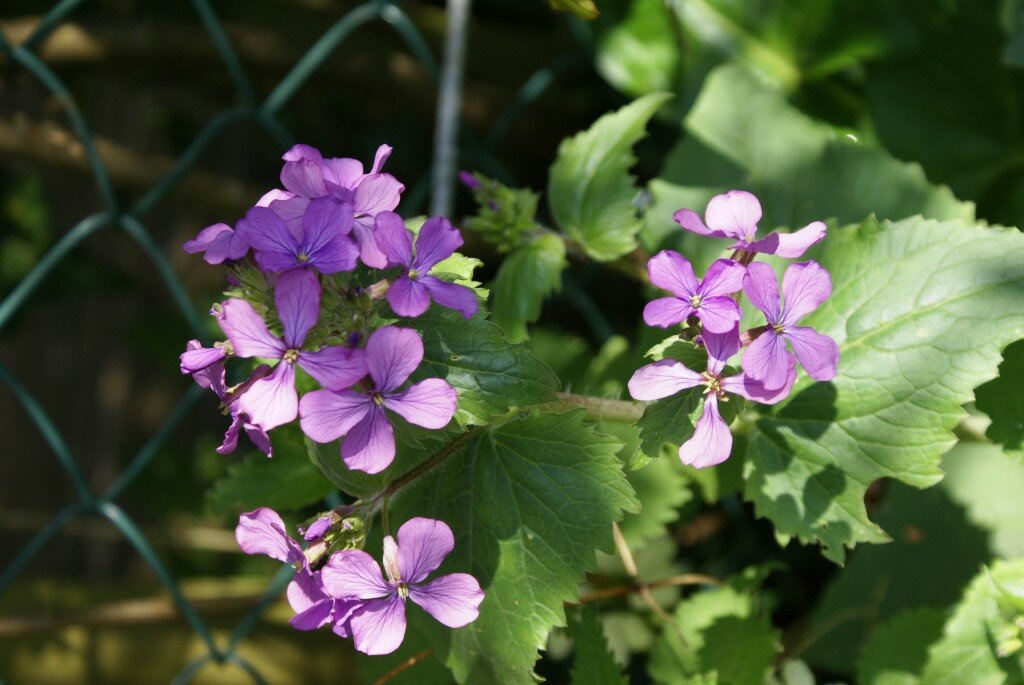

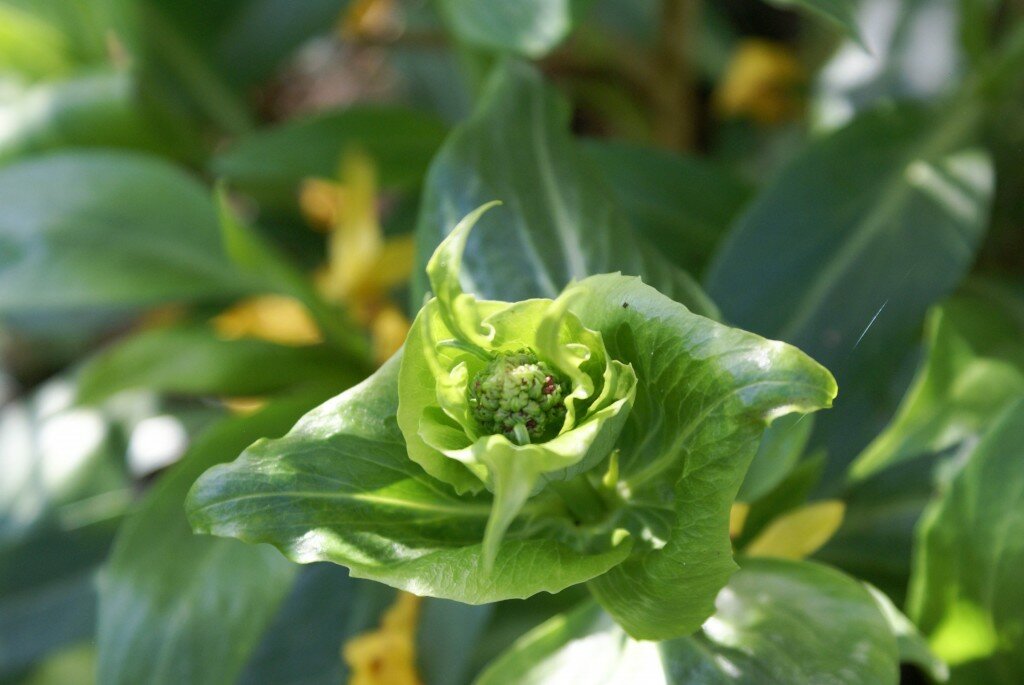


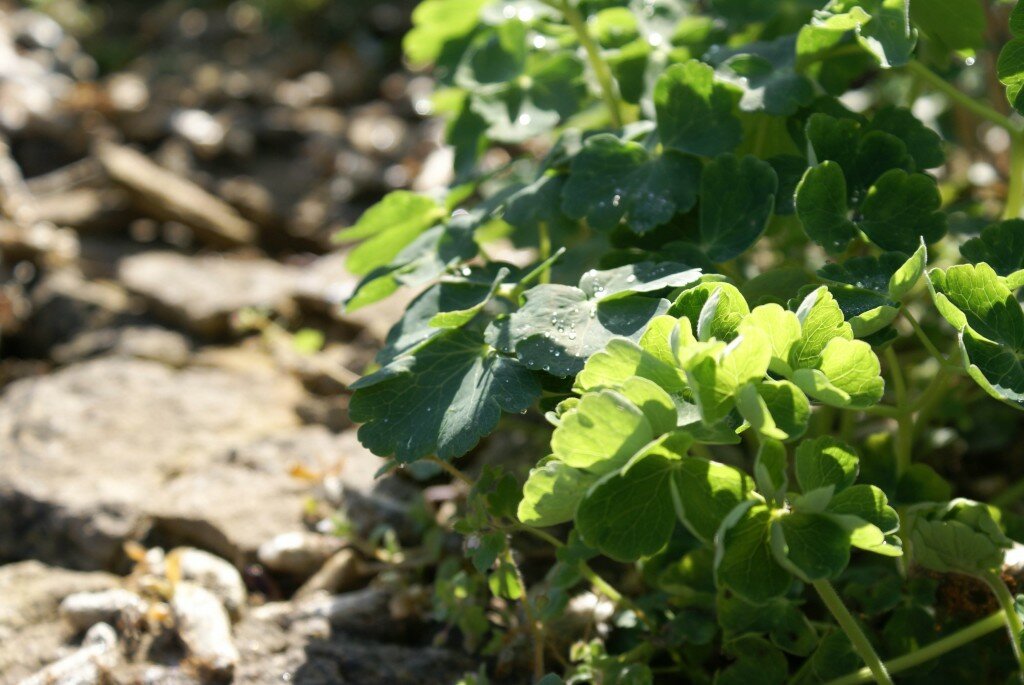
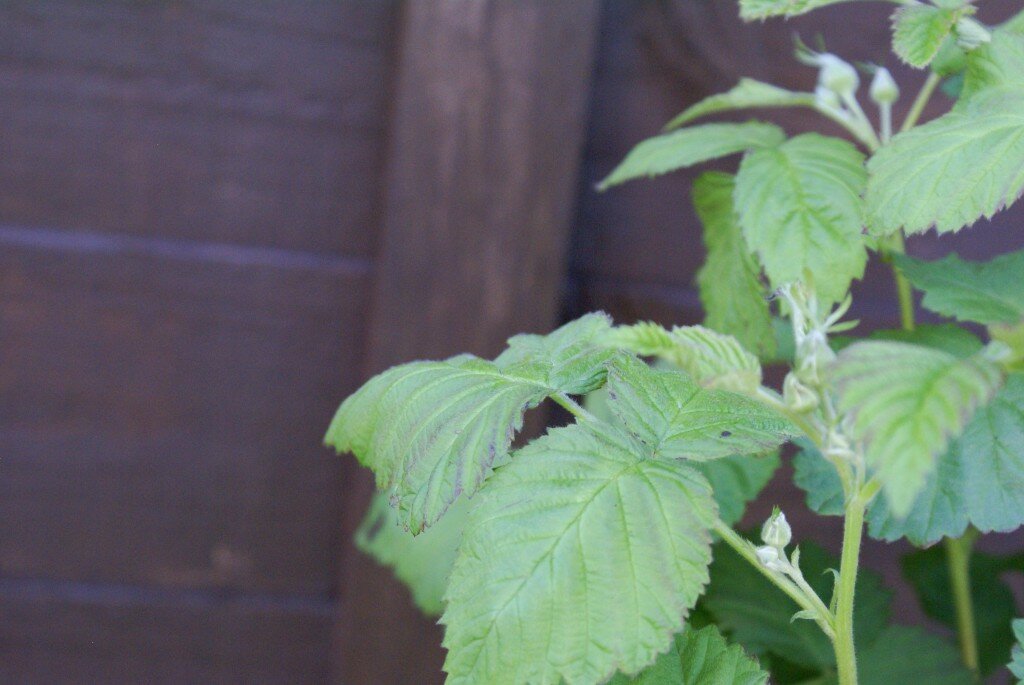
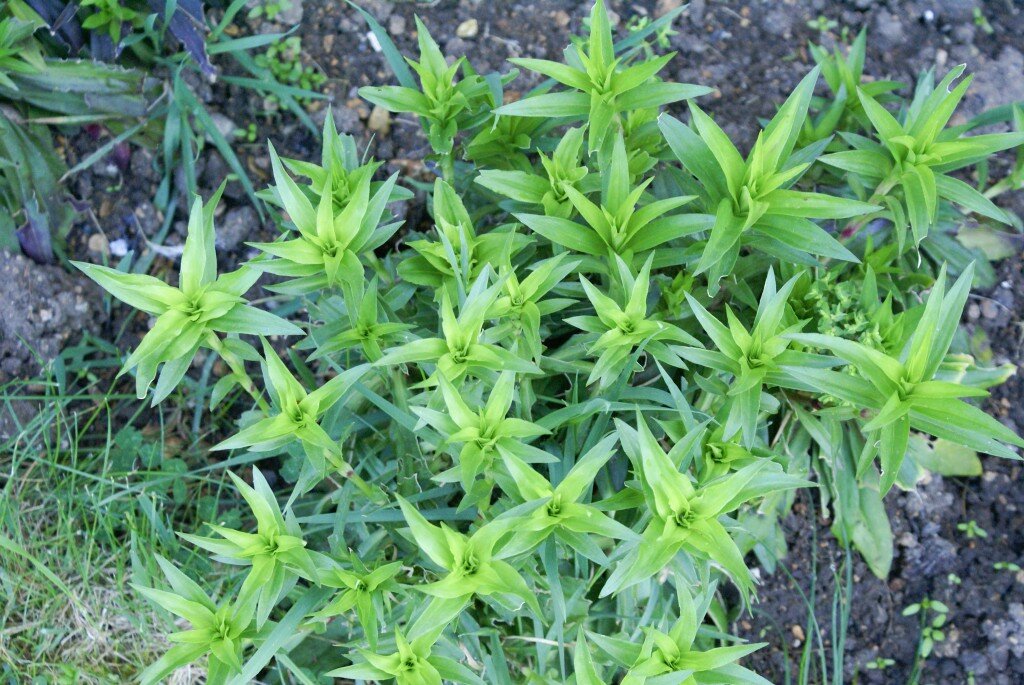
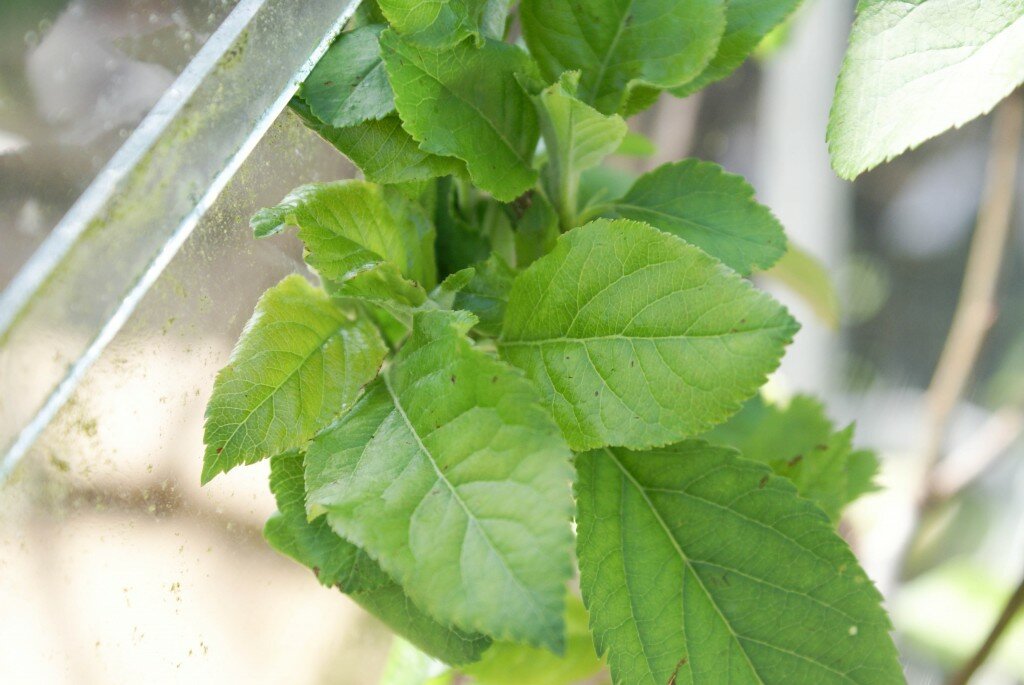
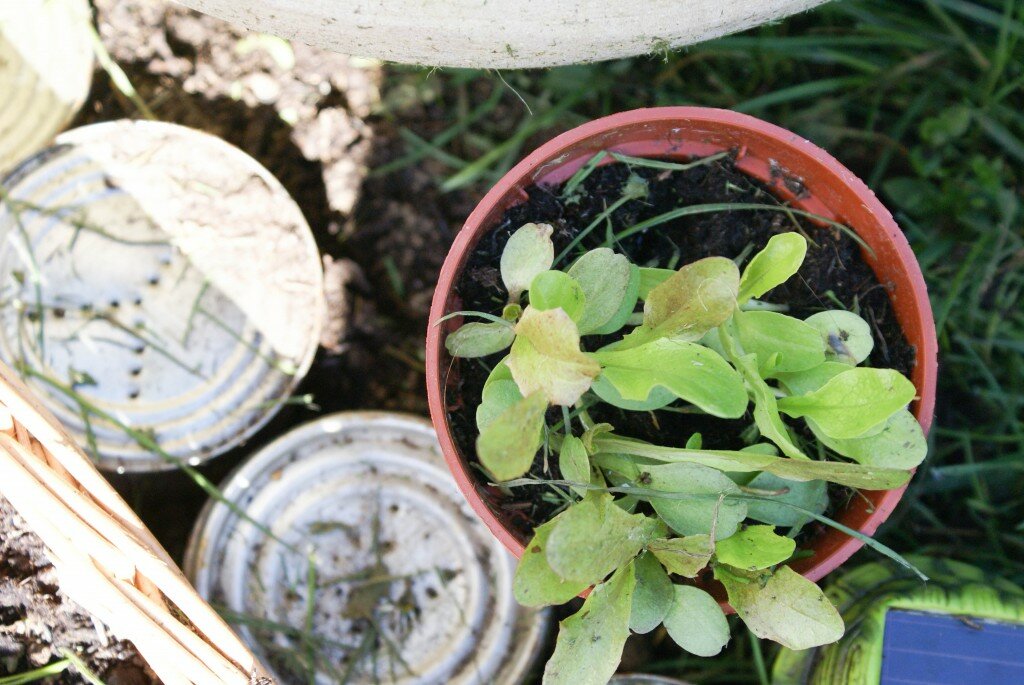
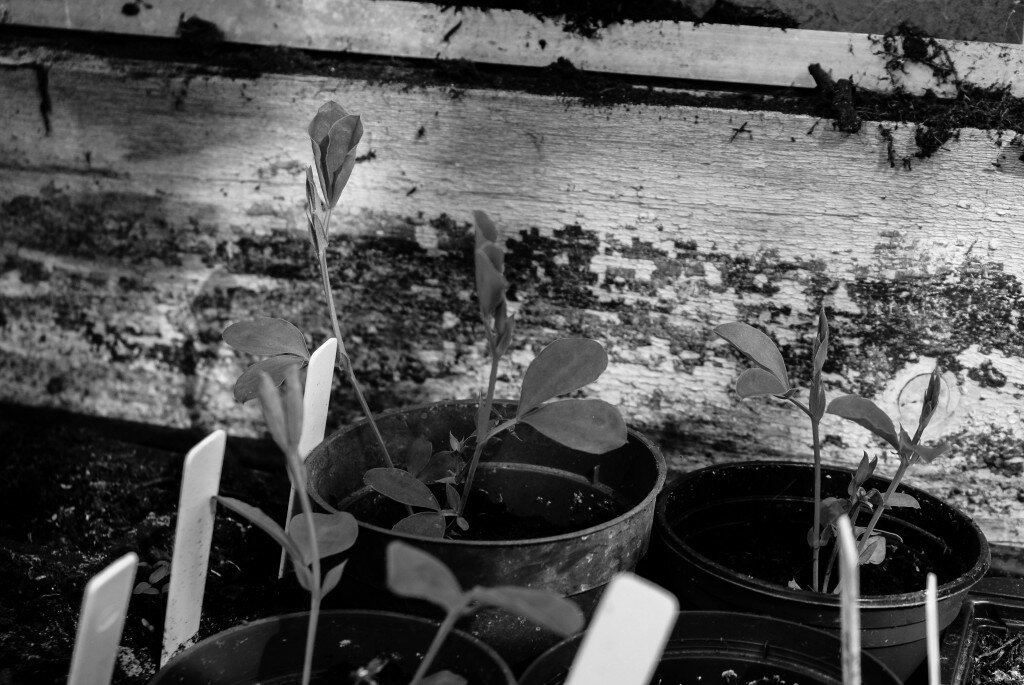
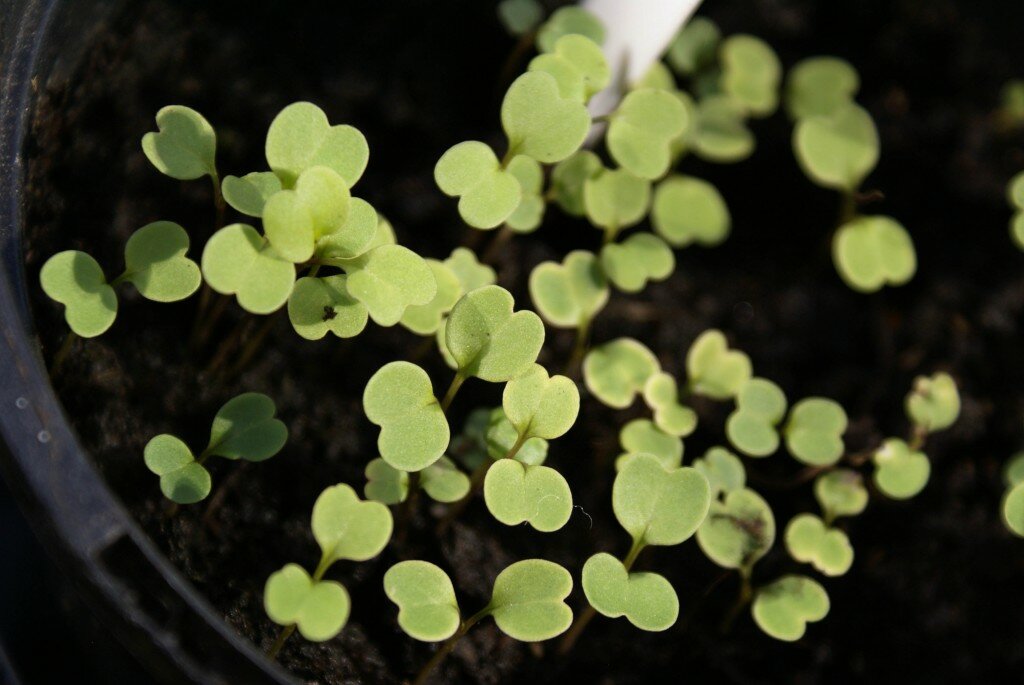 I admit I do love how organic the rocks and plants are looking. The big garden bed has surprised me, after its stillness during the winter it just suddenly exploded into this fleshy mass of greenery. I think I’ll add some more winter plants to add some interest towards the end of the year, but I’ll enjoy what I have while I have it. Happy Easter to you, I hope the sun has been shining down on your garden too.
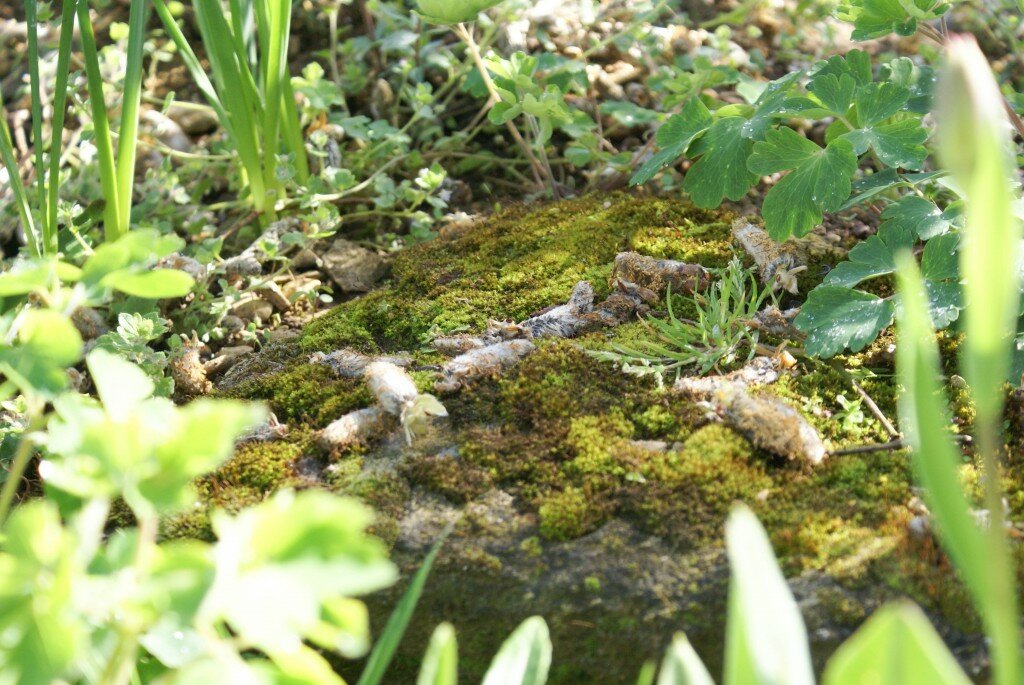


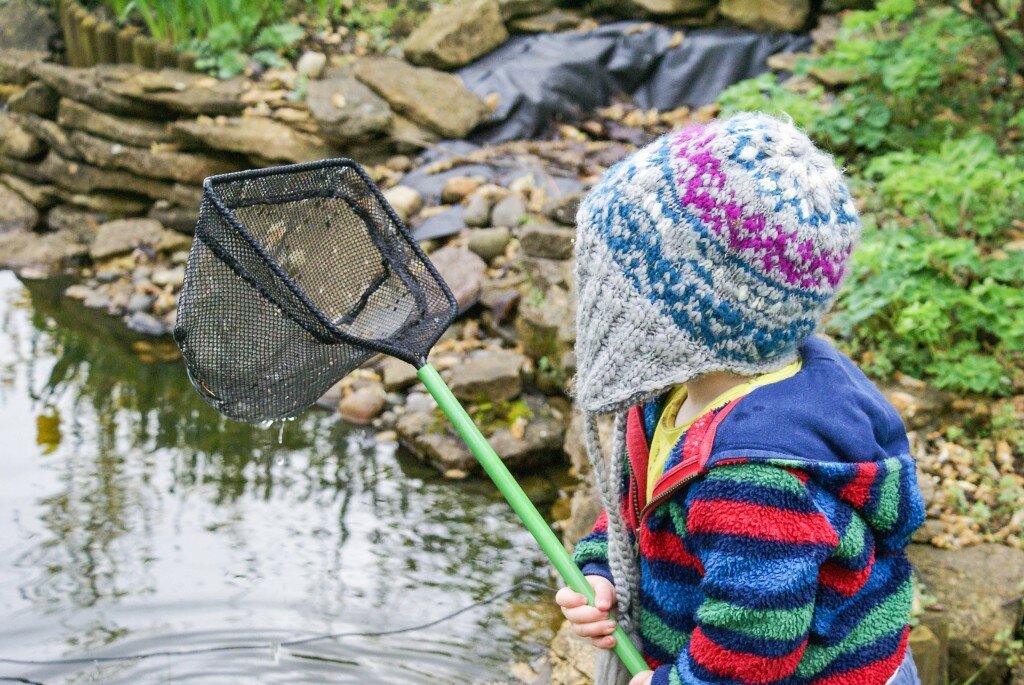
 We have lost hours just hanging out in the garden with our buckets, trowels and fishing nets, even in the rain. Our pond is so big (and dangerous), but it provides so many interesting opportunities to explore nature. A few weeks ago the frogs came to visit and you have loved seeing the frog spawn floating on the surface of the pond. We donated some to pre school and you have been learning what it is, expanding your vocabulary in ways I never imagined. Today you helped me by fishing out the buds from the pussy willow and tipping them into a bucket.
 In your daddy’s arms is where you like to spend your time. He carries you round in the crook of his arm, and even has you sitting on his knee whilst he eats his dinner (one handed.) You two are bestest palls, he knows how to settle you and gives you a thousand kisses a day. When you smile your whole face lights up and your dummy just drops to the floor as every muscle extends into a gummy grin. Your happy disposition amazes us, you rarely fuss or complain you are just contented and we feel so lucky. You are now gently settling into 3 nap times during the day and we are trying to put you down in your cot so you can get used to your own room. Admittedly, at night we miss you when you aren’t snuggled up next to us in bed, but you soon return for your food.
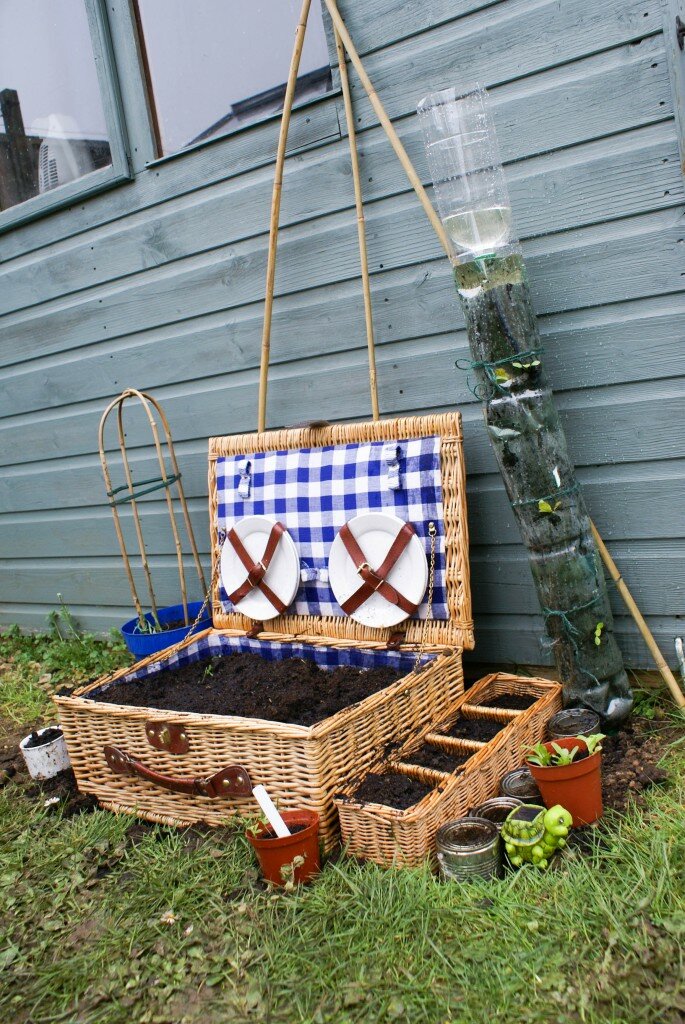
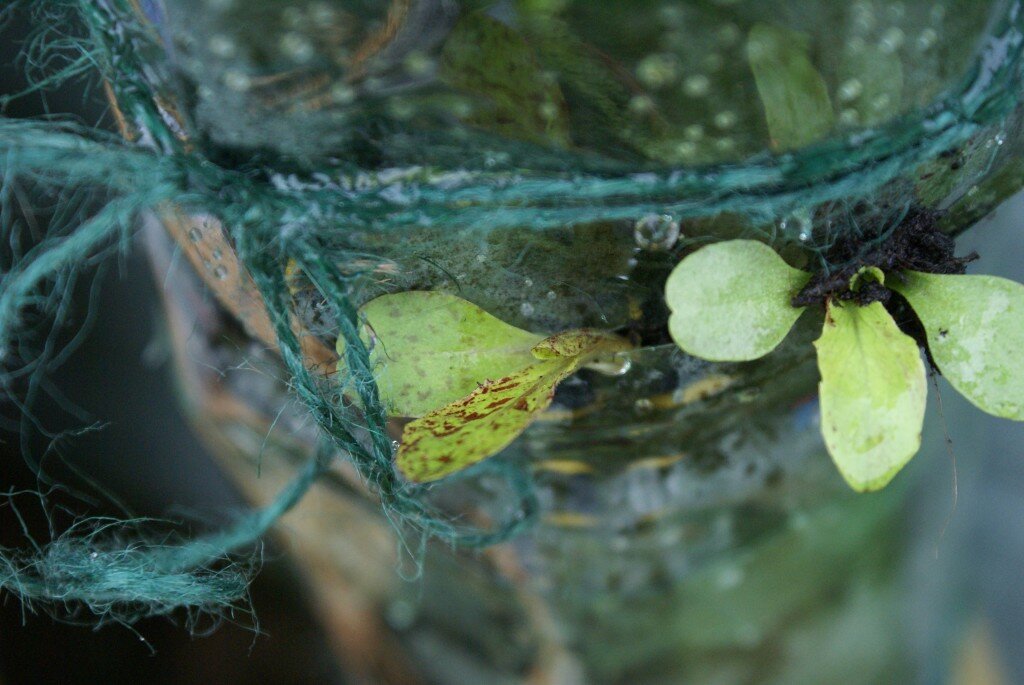
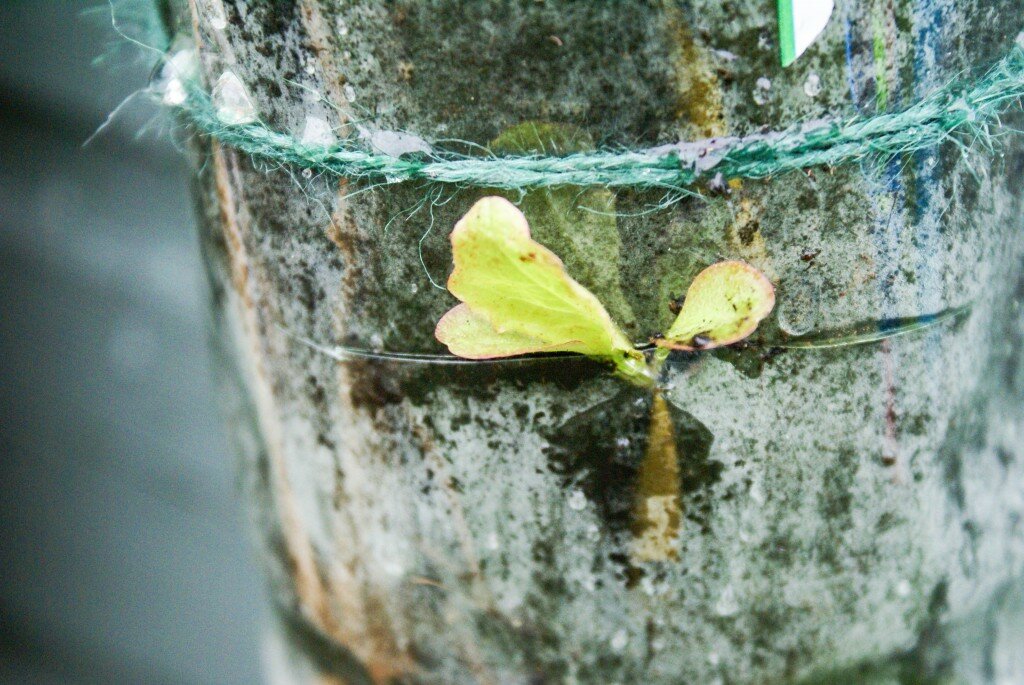
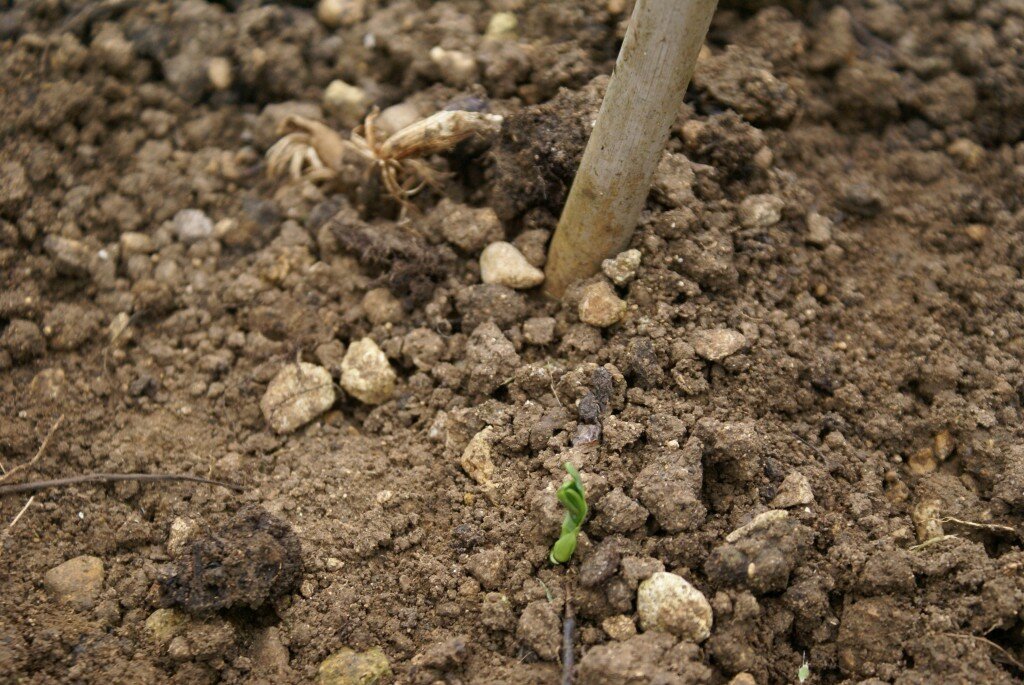
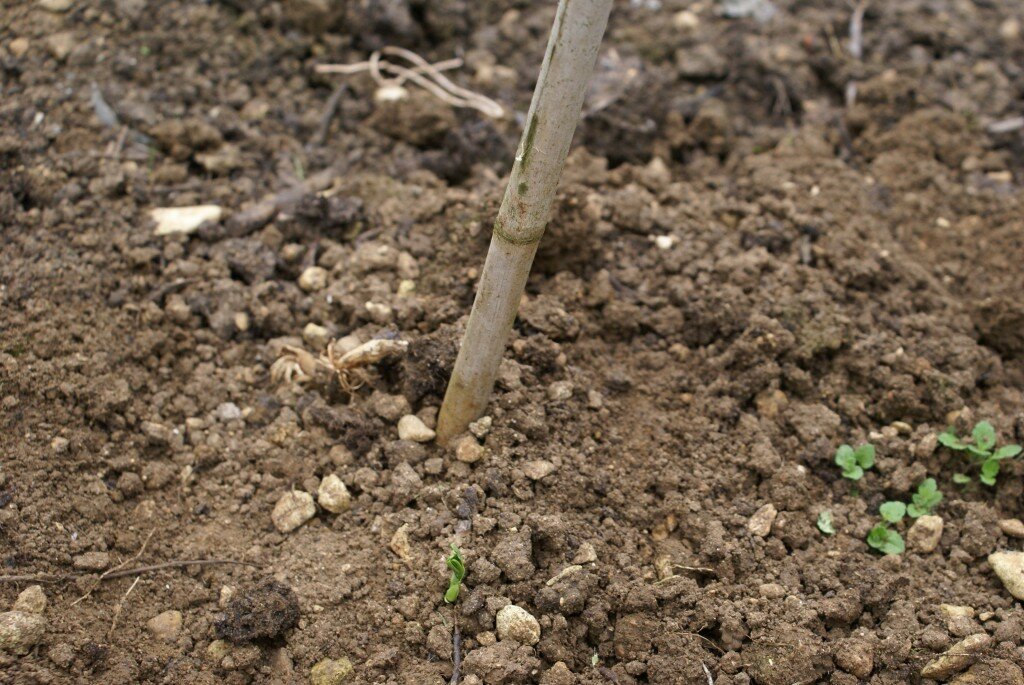 And then I turned my attention to the rest of my seed packets to find that there were more things to plant so I’ve sown some green headed calabrese, white strawberries (wishful thinking I reakon) hollyhocks, and then thought I’d be brave and sow my carott seeds in drills straight into the soil. As a precaution I have planted a row of onions next to them to try and deter the dreaded carott fly that everyone seems to go on about!
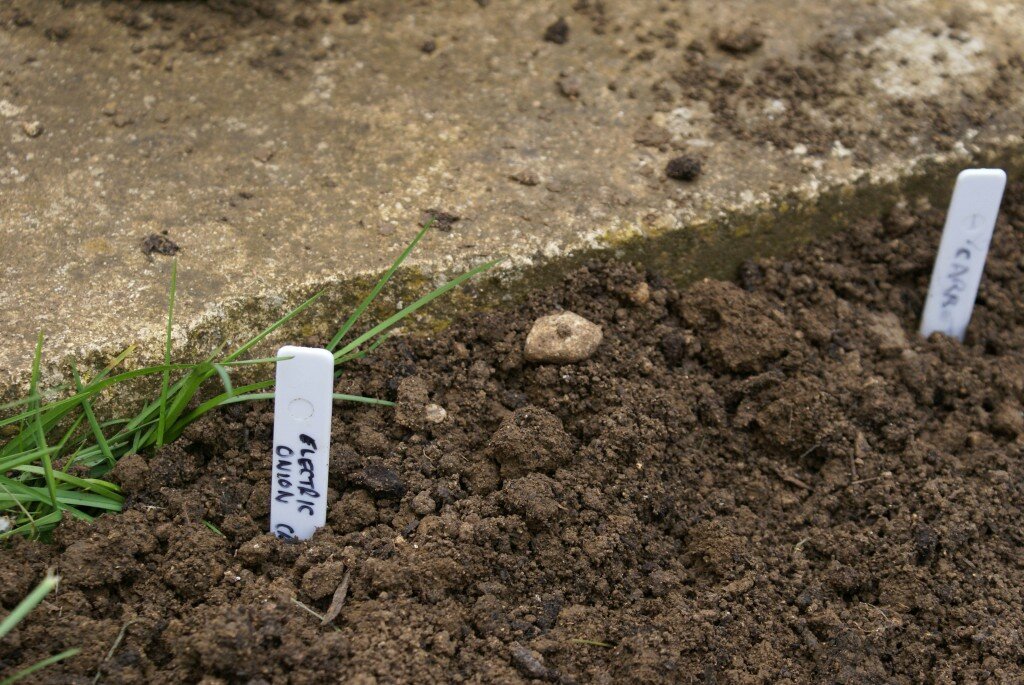
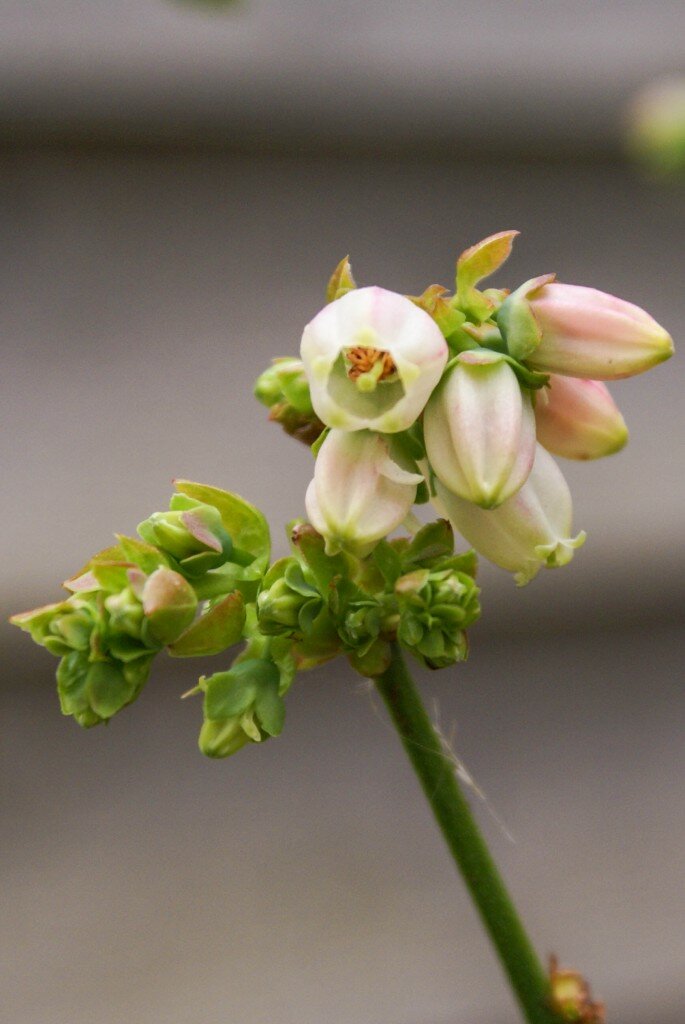
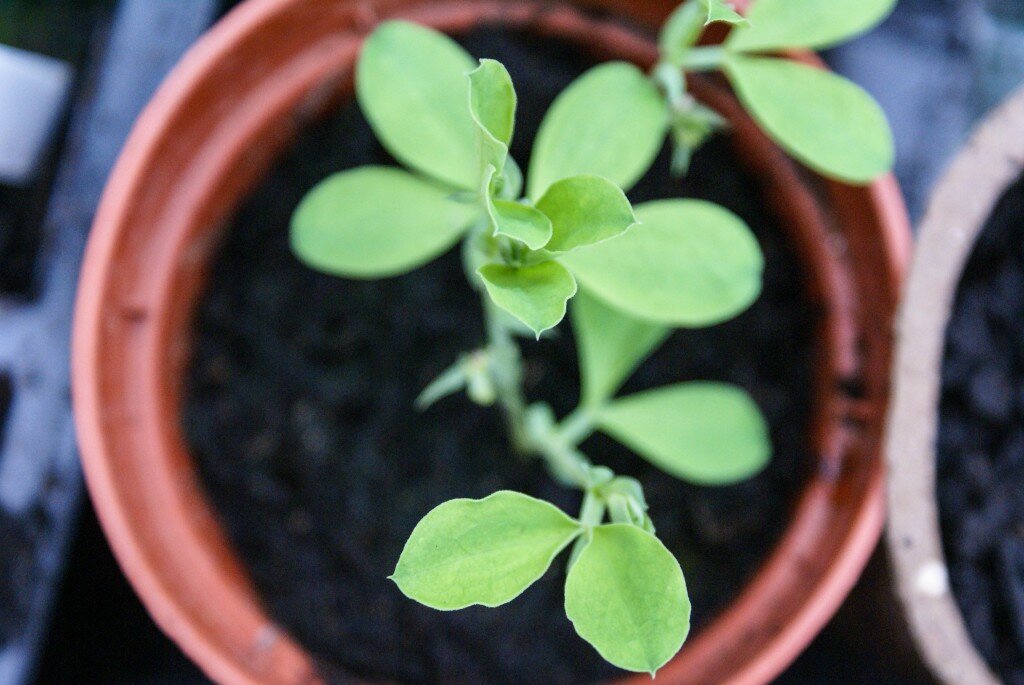
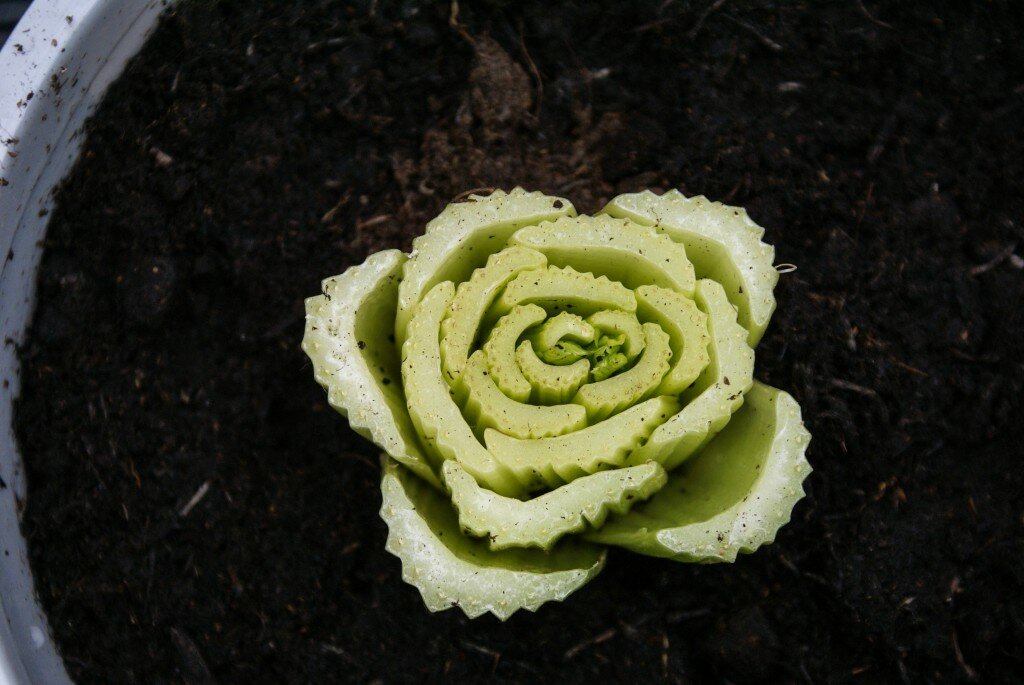
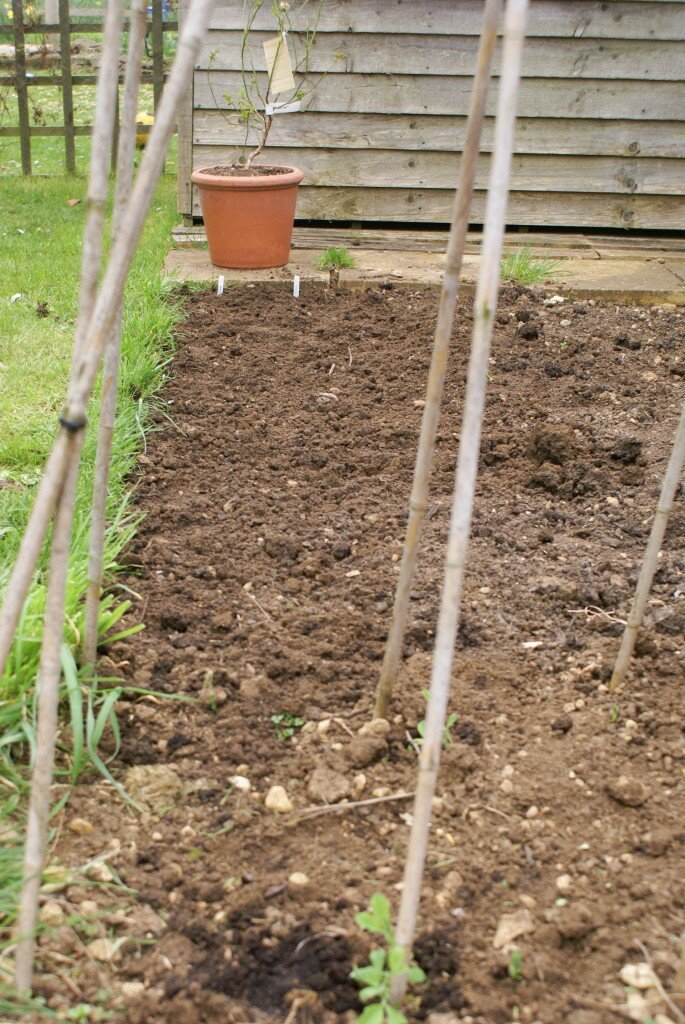 Then there’s all those other exciting things, blueberries starting to flower, sweet peas getting bushy, that black hyacinth emerging, and having a go at regrowing celery from the root.


 Somehow Evie is now 4 months old and we are slowly starting to contemplate a vague bed time routine. So far we’ve played it by ear and been exceedingly lucky that she has since birth, slept in 3 hour blocks through the night, inititally from around 11/12pm until 9am. She’s awake more in the day now and I make an effort to stimulate her with conversation, play, laughter and fresh air when she is bright eyes and she now sleeps from about 9pm until 9am (waking for feeds every 3/4 hours).
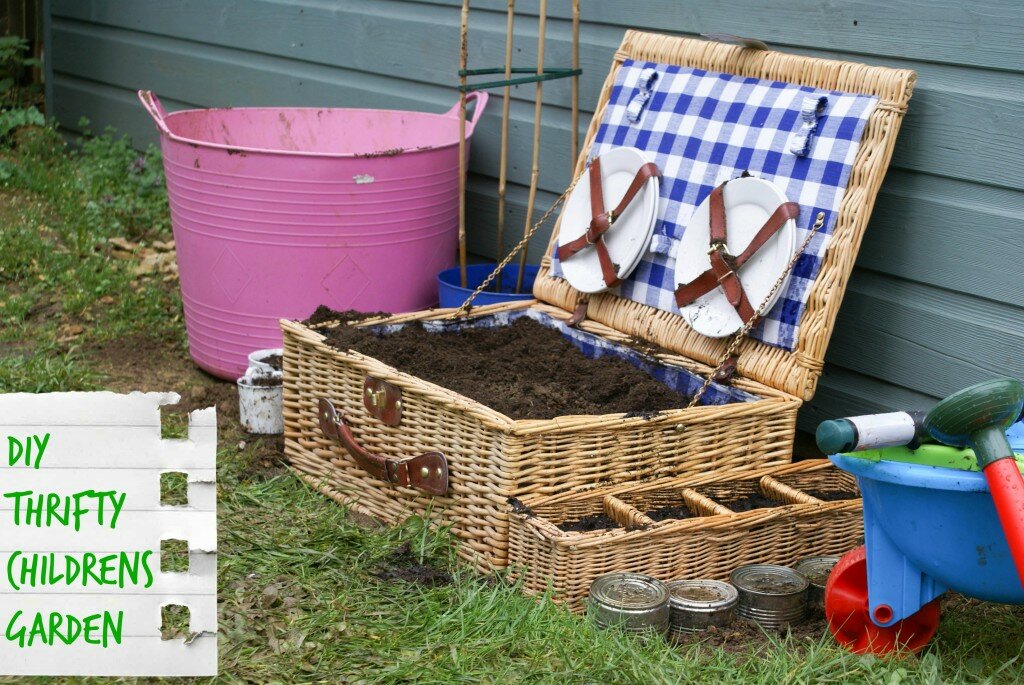 My toddler just loves to be in the garden pottering. Digging and watering are his loves and these activities have maintained his interest for at least 6 months, so giving him his very own space seemed like a great opportunity to get creative.
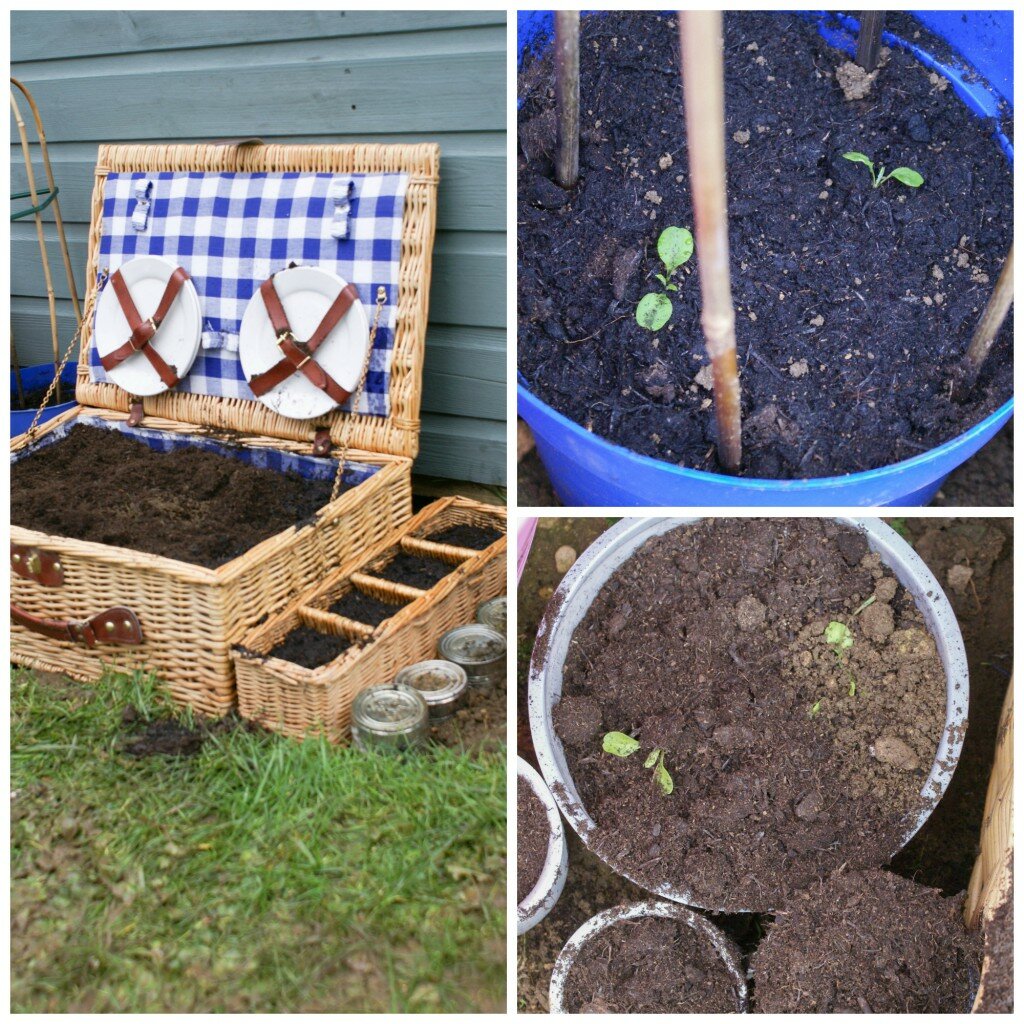
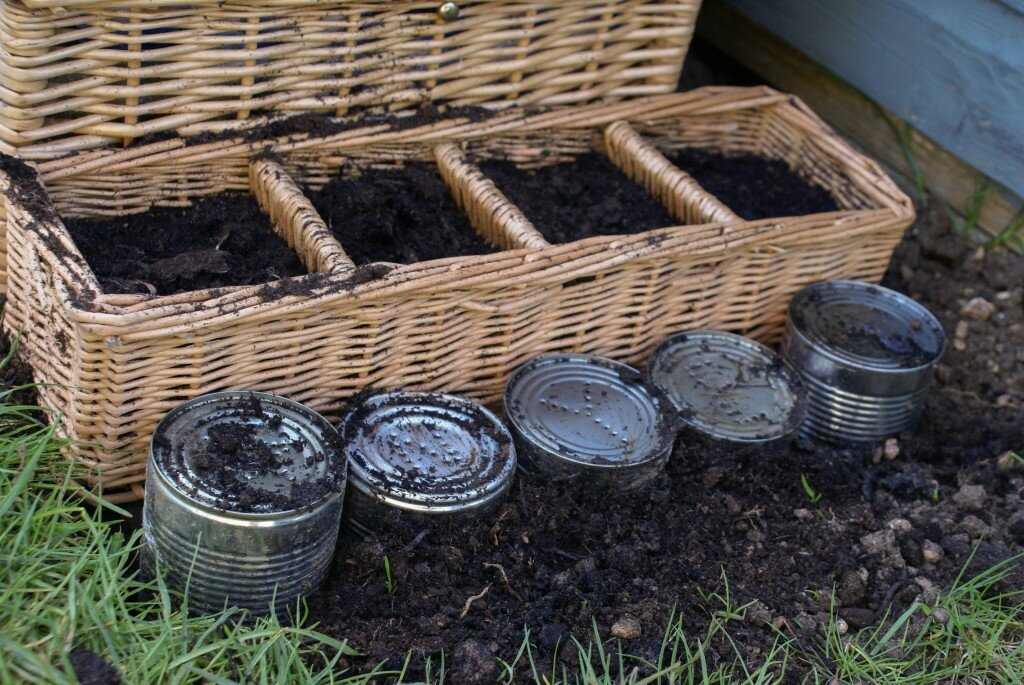
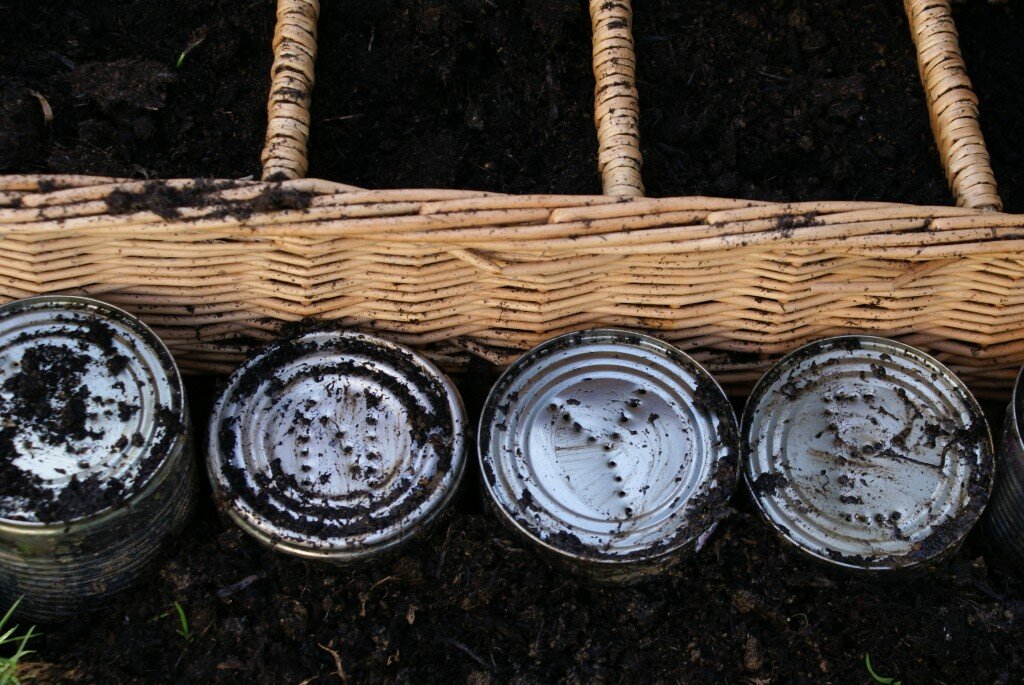 To give the garden a fun personalised feel I used some tin cans to add my sons name to the edge of his patch. To do this I simply used a nail and hammer to add letters to the ends of some tin cans and dug these into the soil. You can’t see it but I also added a star, for more complicated patterns it’s probably best to use a marker pen to draw the outline. They’ll look better when the mud subsides and I can’t tell you how satisfying it was hammering holes into tin.
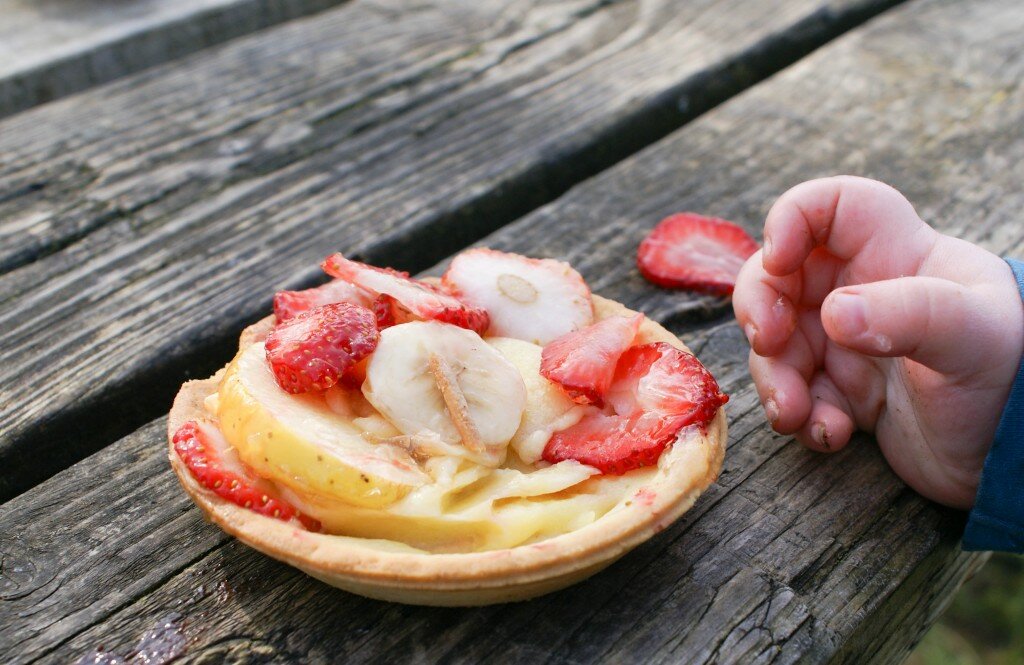
 Ah my little Evie you are so different to how I remember your brother I can hardly believe it. It reminds me how amazing nature is, all the endless possibilities that arise for character and temperament. They are right when they say no two babies are the same. You just love to sit up or be on your tummy, spreading out your arms and legs and determinedly holding your chest and head high. This week I felt the winds of change, you will no doubt be on the move in a month or two. Can it really already be time for you to start practicing those first moment of independence? You’re already grabbing for things and playing with your hands with purpose, what will be next?
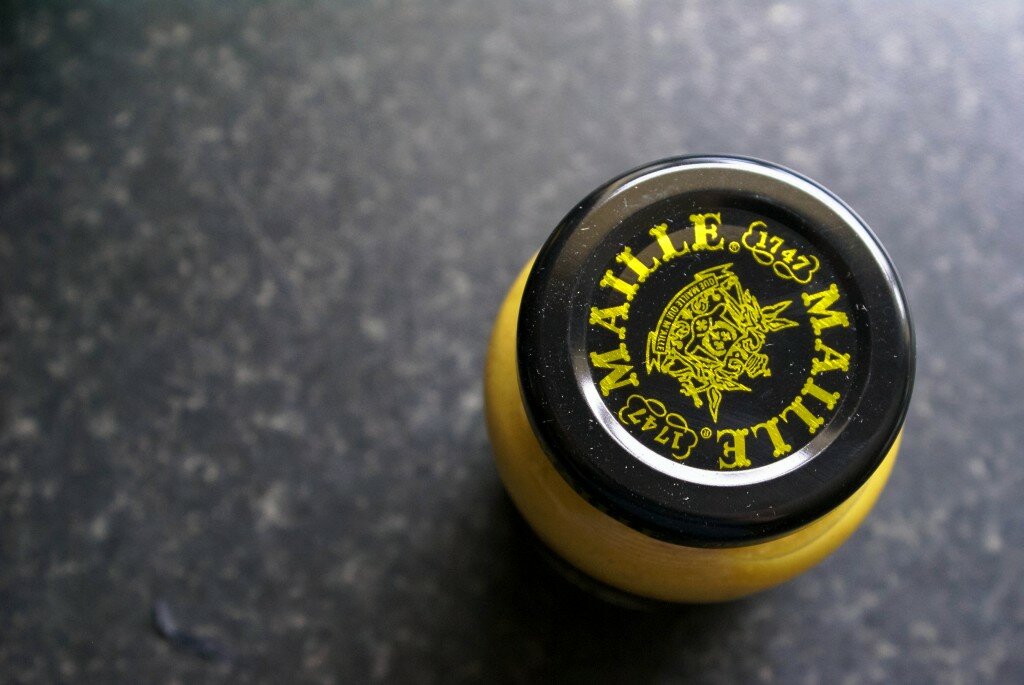
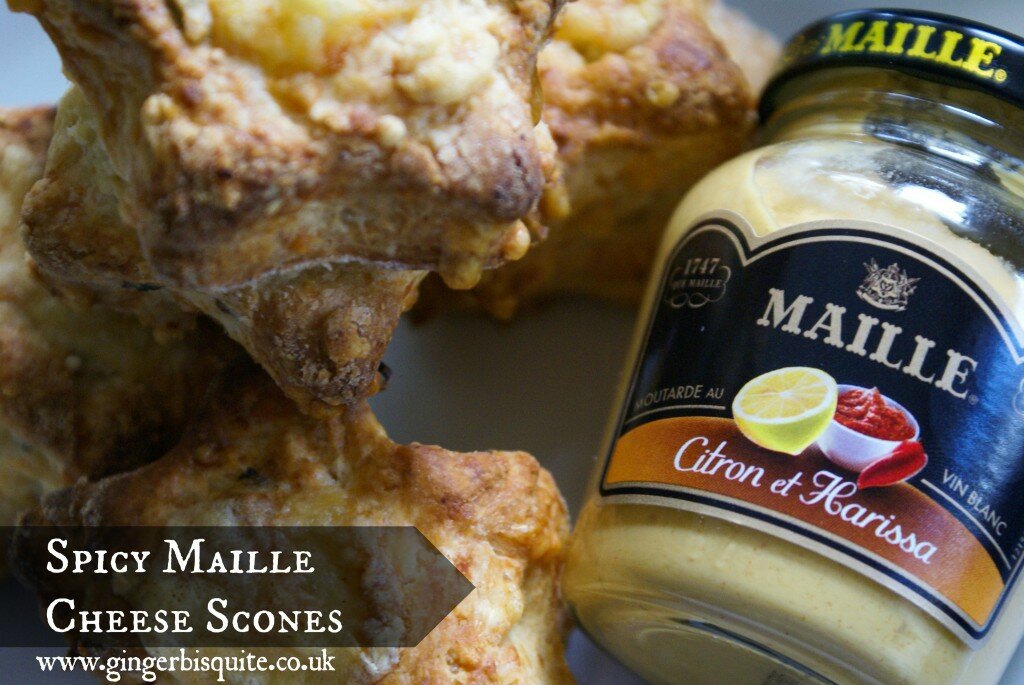 I was recently contacted and asked if I would like to take part in the Maille Culinary Challenge, to use one of
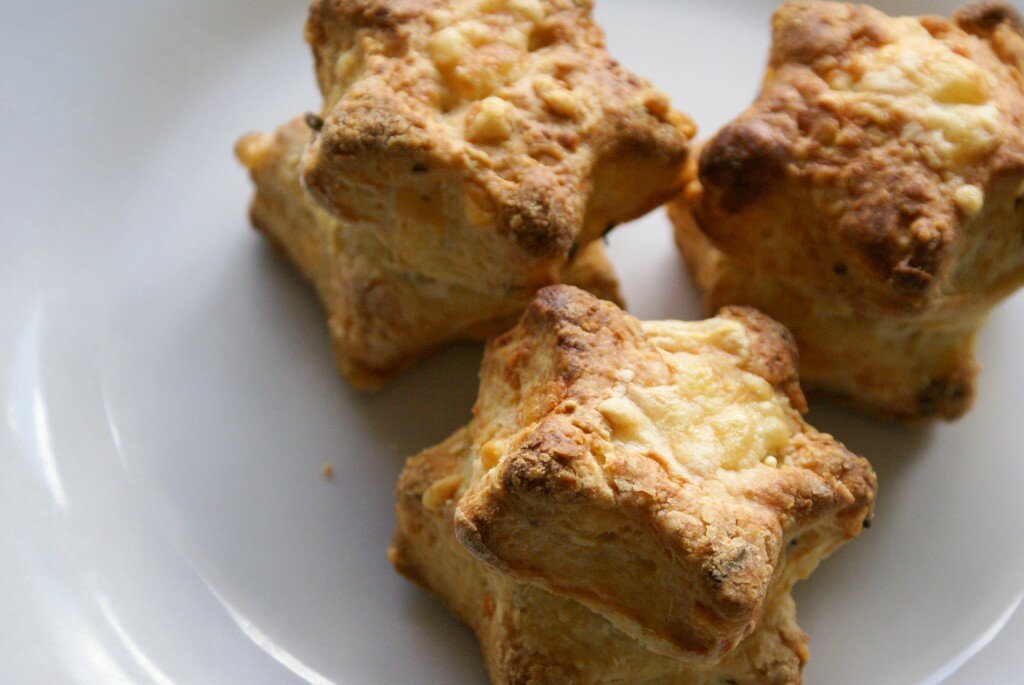
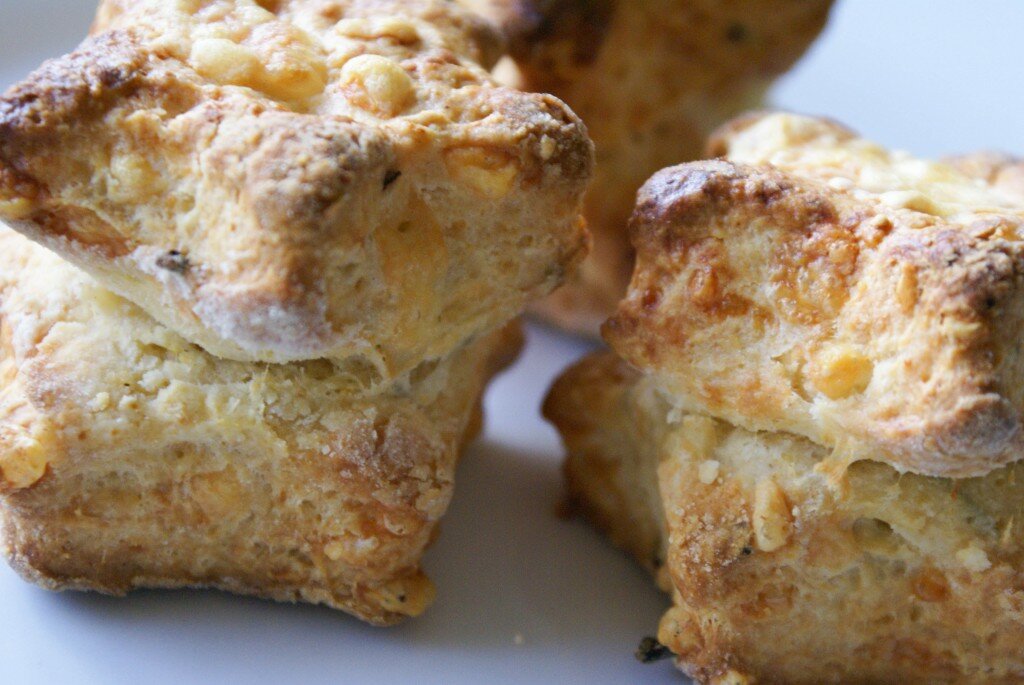
 I started the challenge by trying to add a little spice to a British favourite, the cheese scone. Scones are usually made with a fluted round cutter but I came across these little star shapes first and thought they would be cute stacked one on top of the other. I did wonder if they would be a little dry because of this but they were lovely and moist still and deliciously flavored with a bit of a spicy hit.