 I have an admission to make – despite lusting over many a design, I have never actually hung wallpaper. Many times have I admired it, shared it and dreamed of it but never had it graced my walls. I was a first time wallpaper’er.
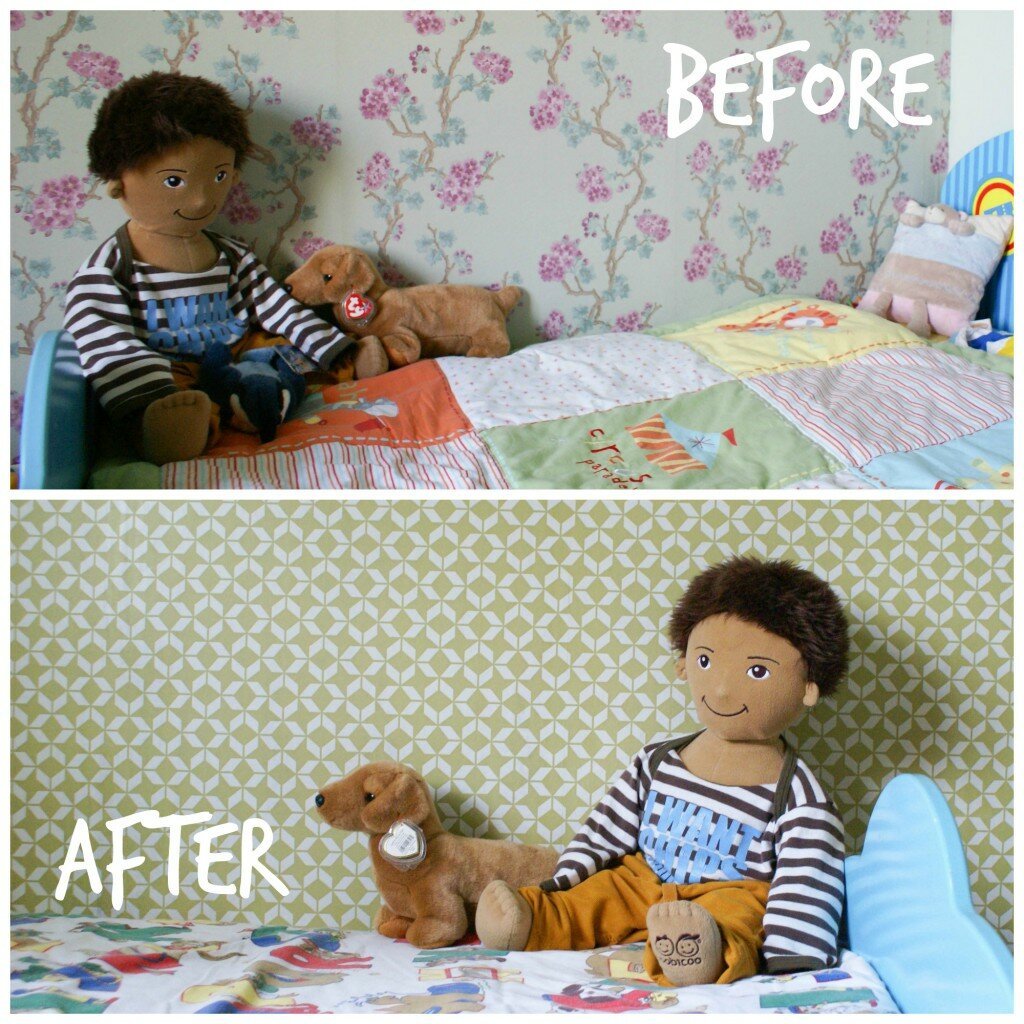
That was until I moved into a house with floral wallpaper all over my sons bedroom and no time to remove it. That’s the thing with wallpaper isn’t it, it’s so personal. I wonder if anyone has ever moved into a house and kept the previous owners wallpaper long term. We’re planning to live here for many years to come so when decorating our house I’m going for designs I really love without giving a second thought for resale potential.
I tested the ground of wall patterns when I installed cloud decals in the nursery and I absolutely loved the fun look they gave to the room. So, on with the wallpaper show!
You will need: (I watched the video tutorial on the channel before I started)
- Wallpaper Paste
- Bucket
- Stirrer
- Wallpaper Brush
- Sharp Knife
- Scissors
- Wallpaper
- Microfibre Cloth
- Ladder/Step Stool
- Tape Measure
- Spirit Level
- Pencil


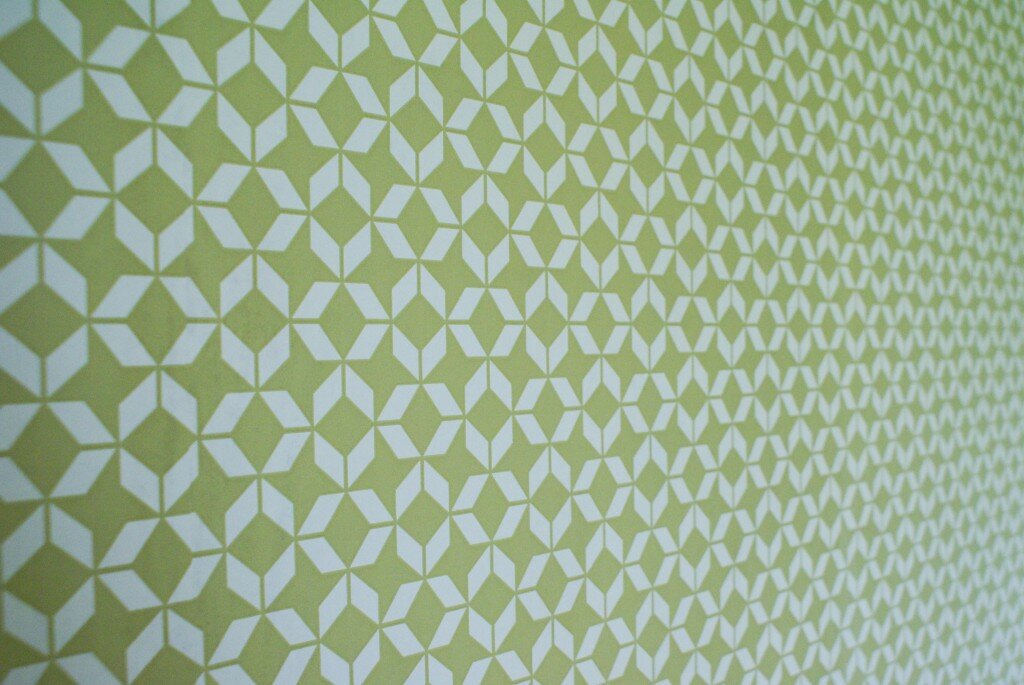
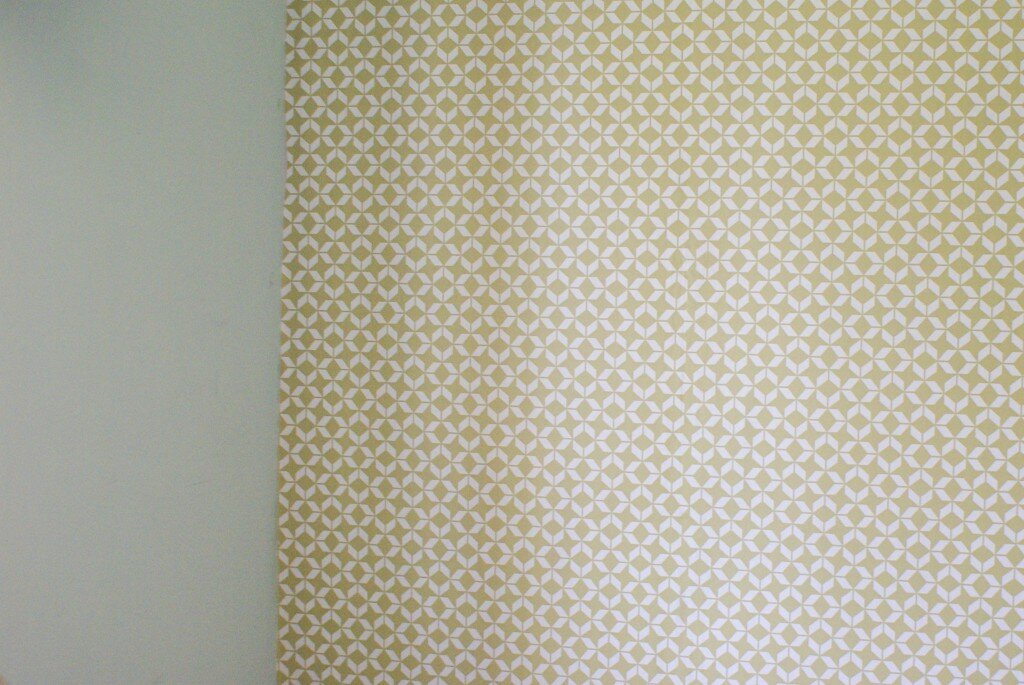
As novices, it seemed best to start with some inexpensive paper as a trial run. This wallpaper is called Brooklyn and I got it on clearance in B&Q, £5 for 3 rolls! We originally got it for our bedroom but I realised it would look great in Nye’s bedroom. It’s paste the wall wallpaper so we mixed the wallpaper paste to its thickest setting and applied it straight to the wall before lining up the wallpaper. (And no, we didn’t remove the old wallpaper or start in the middle). In the end we used about 1 1/2 rolls and it was easy to line up because it has a very busy repeat pattern.
In terms of timing, this first wall took us about 2 hours. Because it was our first time with wallpaper we double checked all the measurements and then had to rehang the paper after I got a bit snap happy and trimmed too much off the bottom of the first sheet. (At that point I was pretty fed up, but carried on regardless). Despite this, in the evening we decided to hang our Marimekko Kippis wallpaper in the dining area (A cheeky Ebay purchase for £30). Because we still had a huge amount of wallpaper paste lying around unused and all the tools still out it seemed sensible to continue. The dining room wall only took an hour, as we already had a good wallpaper work flow worked out.
 There’s still much to finish off in the bedroom and dining area but I’m so pleased to know that we’ve at least started to put our own stamp on the house (and learnt a new skill). They’ll be more to share in the next few weeks as the rooms start to take shape.
How about you? Been lusting after some gorgeous wallpaper prints? Are you a pro or a first timer like me?


April 12, 2014 at 9:53 pm
I love your choice in wallpaper! I was once a huge wallpaper fiend but I’m going to wait a couple more years till I put any up here – I just don’t trust Kitty not to pick at it! So great to be making your mark on your home x
x
April 19, 2014 at 10:18 pm
Ah so I should have been coming to you for the wallpaper tips then! Noted!
April 29, 2014 at 2:05 pm
Absolutely love both wallpaper patterns and great tips for hanging wallpaper. You make it sound easy!
Molly @MollyandthePrincess recently posted…What My Home Says About Me: The Great British Home Challenge
Pingback: 8 of the best children's lampshades | Ginger Bisquite