Ginger Bisquite

Lifestyle, DIY, Family & Food

Make your own ice lolly

July 15, 2014 by Jenni Clutten | 2 Comments

make your own ice lolly

I had kind of forgotten just how easy it is to throw together delicious and fruity ice lollies, but I’m so glad I gave it a go. Here are my delicious recipes for how to make your own ice lolly, just perfect for a hot and sunny day.

I’ve so far made two different types of lollies this week, and both were delicious.  They were made straight from the contents of the fridge in a matter of minutes.  At a guess they take around 5 hours to freeze but this depends very much on your freezer, I find it helpful to make them in the morning and then they are ready for dinner time.  Of course lollies will always be a treat but I have diluted the juice and squash so it’s suitable for a toddler or a little taste for a baby if you’re feeling generous.  These lolly mould were from Tesco, but for a thrifty alternative you could make up your mix in an old yogurt pot and simply add in a lolly stick before sitting it in the freezer.

aag.july. (1 of 1)-4Tutti Fruity Lolly Ingredients:

  • Orange Juice (diluted)
  • Blueberries
  • Banana

Instructions:

  1. Half fill the lolly mold with the diluted orange juice
  2. Add a few blueberries to the bottom
  3. Place half a banana into the mold
  4. Add a few more berries to the top
  5. Top up the rest of the mold with orange juice

july.lolly (1 of 1)-5 Berry Blast Lolly Ingredients:

  • Blackcurrant Squash
  • Blueberries
  • Thick Greek Yogurt

Instructions:

  1. Half fill the lolly mold with diluted squash
  2. Add blueberries to bottom
  3. Add 3-4 Tablespoons of yogurt to the mold
  4. Add a few more berries
  5. Top up the mold with squash


Disclosure: This is my entry to the Center Parcs and Tots100 July challenge. If I’m chosen, I would like to visit Woburn Forest.

Thursday Harvest

June 19, 2014 by Jenni Clutten | 11 Comments

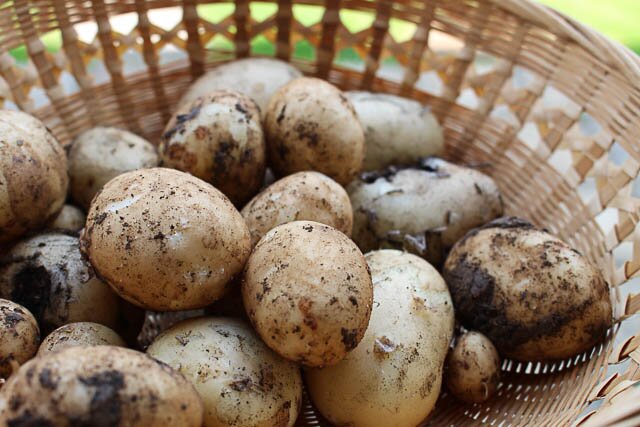
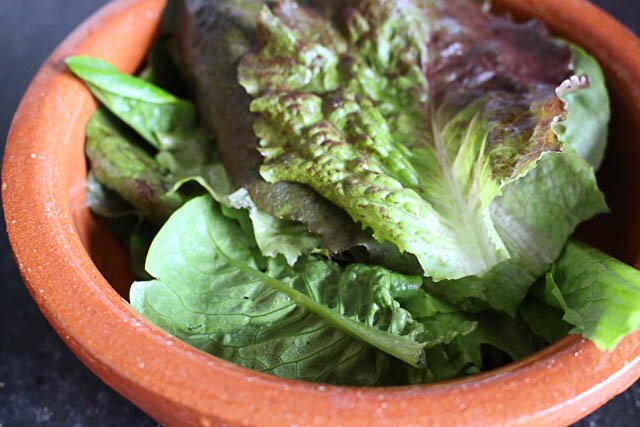
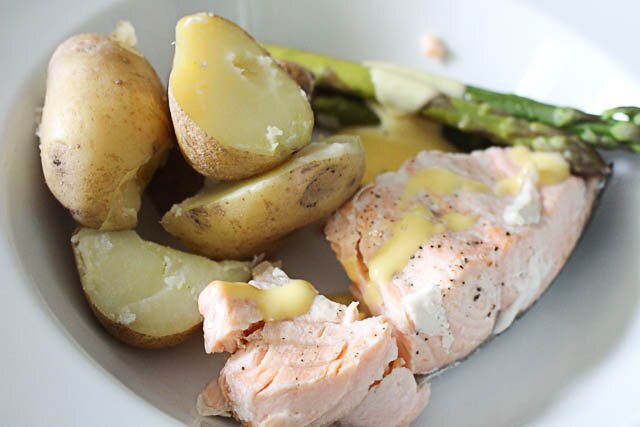
Here is last weeks thursday harvest of lettuce and potatoes.  They made the perfect accompaniment to poached salmon with (easy) hollandaise sauce.  The lettuce is Mortons Secret Mix and the potatoes are actually Maris Piper that I didn’t let grow to full size.  Home grown asparagus would have really topped it off, so I am determined to get some planted this year.  Next up to be picked are the peas, the plants are weighed down with pods but none are quite up to size. The anticipation continues!

harvest.june.18.2014 (1 of 1)-6harvest.june.18.2014 (1 of 1)-5harvest.june.18.2014 (1 of 1)-8
Linking up with How Does Your Garden Grow, last week I loved Happy Homebird‘s photos from Wales. And with Harvest Monday for the first time, who knew those bits on top of the garlic were edible!? I’m off to harvest them for next week.

Mammasaurus and How Does Your Garden Grow?

Make your own chocolate egg

April 13, 2014 by Jenni Clutten | 1 Comment

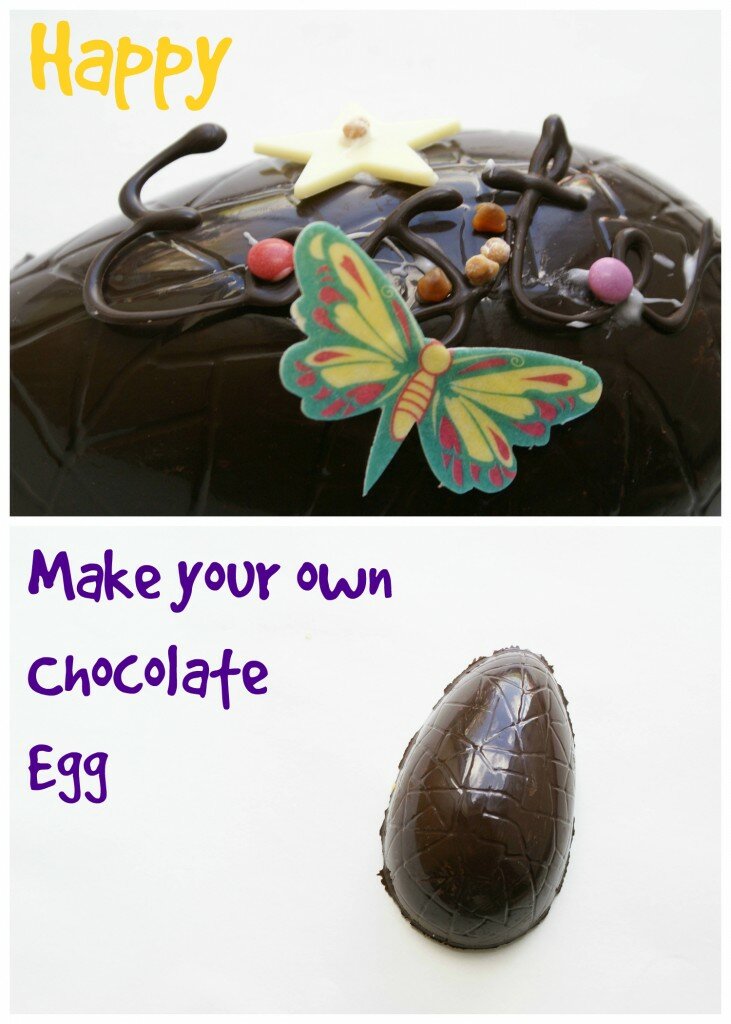
make your own chocolate eggHappy Easter everyone!  Have you had a good first week of the holiday?  We’ve been tackling the spring cleaning here, but that hasn’t stopped us making a bit of a mess in the kitchen.
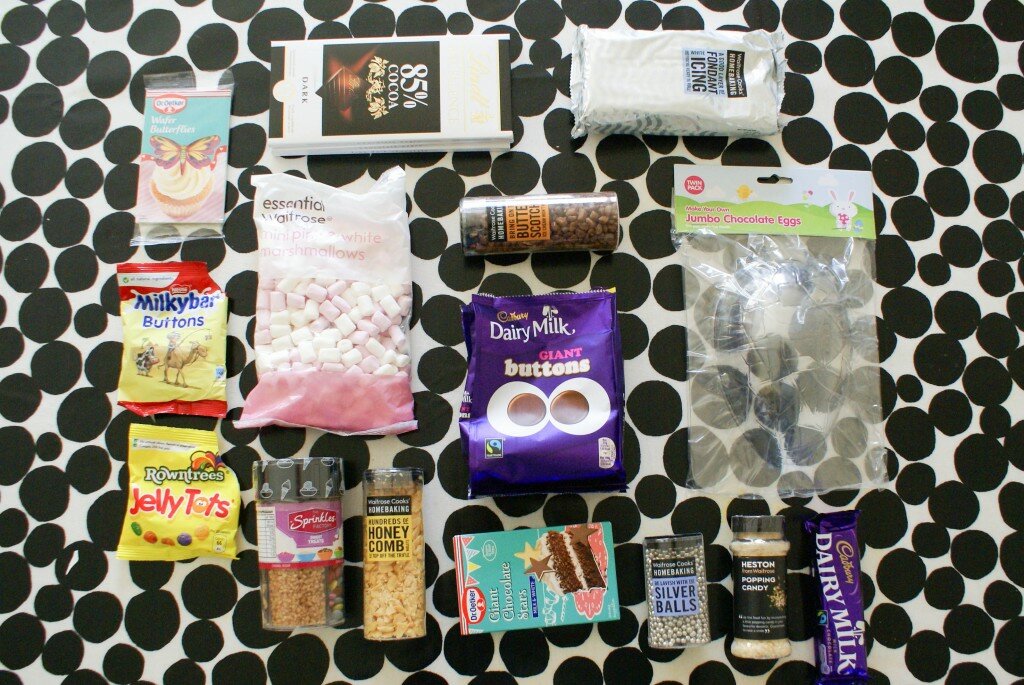
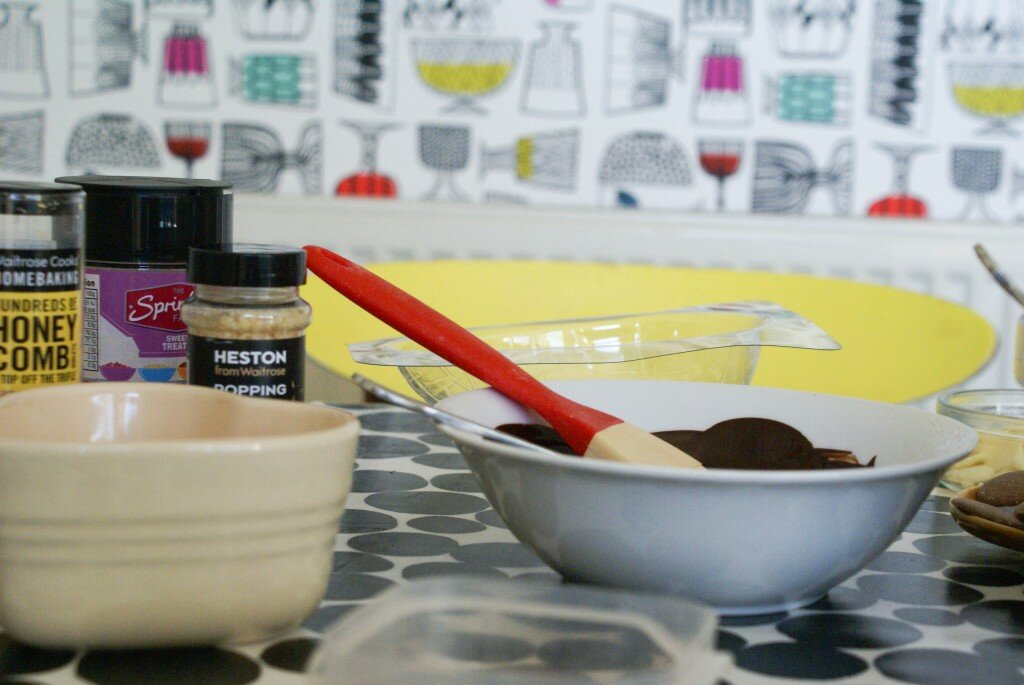
Last week Waitrose got in touch to ask if we would be interested in a bit of creative Easter Inspiration.  I said yes please, and awaited for my box of goodies to arrive.  I can tell you it was a good post day when a package of sweets and chocolates arrived and I was so excited to lay things out for Nye to have a go at creating his own egg.

SONY DSC SONY DSC

Ingredients
250g of good quality dark or milk chocolate – remember to save a little extra for decorating

What you’ll need

  • 2 chocolate egg moulds
  • Flat pastry brush or small paintbrush
  • Heat proof bowl
  • Spoon
  • Pan

Step 1 – Melt chocolate in a heatproof bowl over simmering water in a pan.

Step 2 – Paint a thin layer of chocolate inside the egg moulds, making sure it meets the edges of the mould. Depending on the size of the moulds you may need more chocolate, have plenty on standby!

Step 3 – Chill for 5 minutes or until the chocolate is firm.

Step 4 – Spread another even layer of chocolate over the first layer and let cool for another 5 minutes or until firm.

Step 5 – Gently ease the mould away from the chocolate. Join the chocolate halves together with a little melted chocolate, using a flat pastry brush or small paint brush – That’s it! Well done, you have made your very own Easter egg!

Decorating tips:

  • Melt a little extra chocolate and use this to stick on chocolate buttons and small light sweets that won’t fall off like marshmallows or sugar-coated jellies
  • Using icing piping to draw on simple Easter shapes such as chicks, rabbits and lambs to give your egg a fun farm theme
  • Personalise your egg by writing the recipient’s name in icing piping and use decorative sweets that represent their personality
  • Why not turn you egg into a person or an animal? For example use sweets and chocolates for eyes and fur. For an Easter afternoon activity, make an egg that resembles a family member
  • Dip your finished egg in melted chocolate and roll in hundreds and thousands or popping candy for a textured knobbly effect
  • Why not try white chocolate to make your Easter egg
  • Before sealing the two halves, hide an Easter treat inside? Maybe some small sweets, a surprise Easter toy or just a note to say Happy Easter!
  • For a more indulgent egg why not add to the melted chocolate when you’re still preparing the egg, try butterscotch chunks or honeycomb pieces for a real treat!

Egg Inspiration:
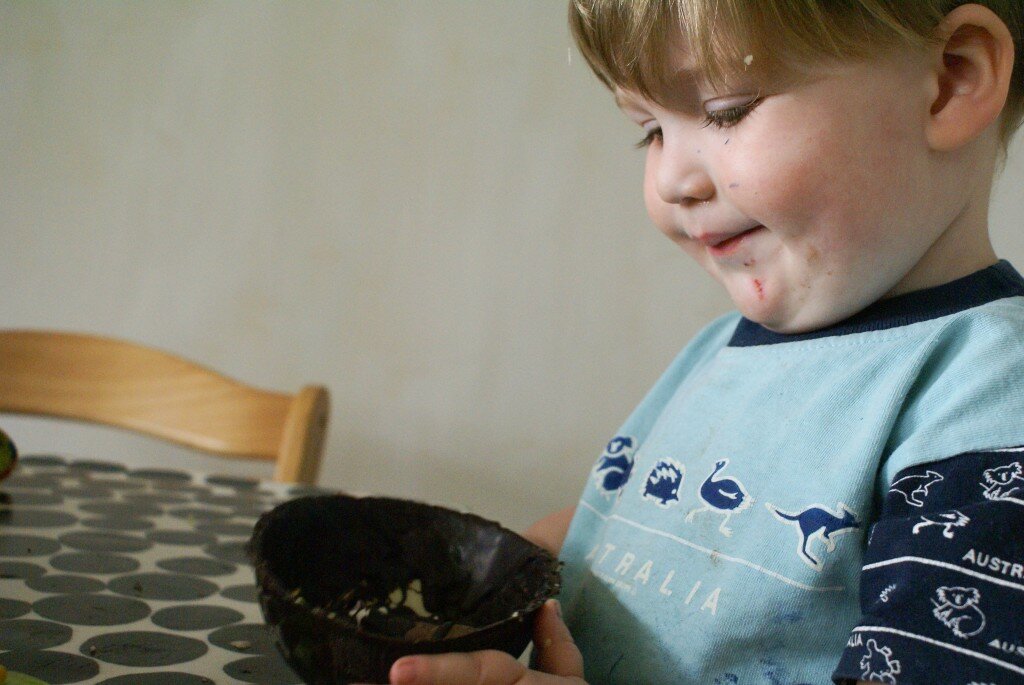
Nye created a kind of Rocky Road chocolate egg with marshmellows and chocolate buttons mixed into the shell of the egg along with some lovely crunchy honeycomb bits.  The Chocolate was very thick so it took longer to dry but it was very delicious and came out of the mold easily.

I created a more simple egg, sprinkling popping candy and butterscotch pieces on the inside of the egg after I painted on the second coat.  A lovely crackling and crunchy surprise for whoever bites into the egg.  To decorate I made a piping bag and piped some easter designs onto a sheet of baking paper and stuck these onto the egg using some fondant icing as edible glue.

SONY DSC making a chocolate egg

As you can see, Nye was very proud of his egg creation.  Fancy having a go, what sort of egg would you make?

Disclosure:
Ingredients and instructions supplied by Waitrose, photos and words my own.

Spicy Maille Cheese Scones

March 25, 2014 by Jenni Clutten | 9 Comments

Spicy Maille Cheese SconesI was recently contacted and asked if I would like to take part in the Maille Culinary Challenge, to use one of Mailles products to create a new recipe.  I don’t know about you, but when I think I Maille I just think of dijon or wholegrain mustard.  I was quite amazed to see the massive range of unique flavour combinations that they offer in their online boutique.  I also had no idea about the long heritage of Maille which actually goes back to 1720 when Antoine-Claude Maille invented the “Vinegar of the Four Thieves”, to save the inhabitants of Marseille from the ravages of the plague.
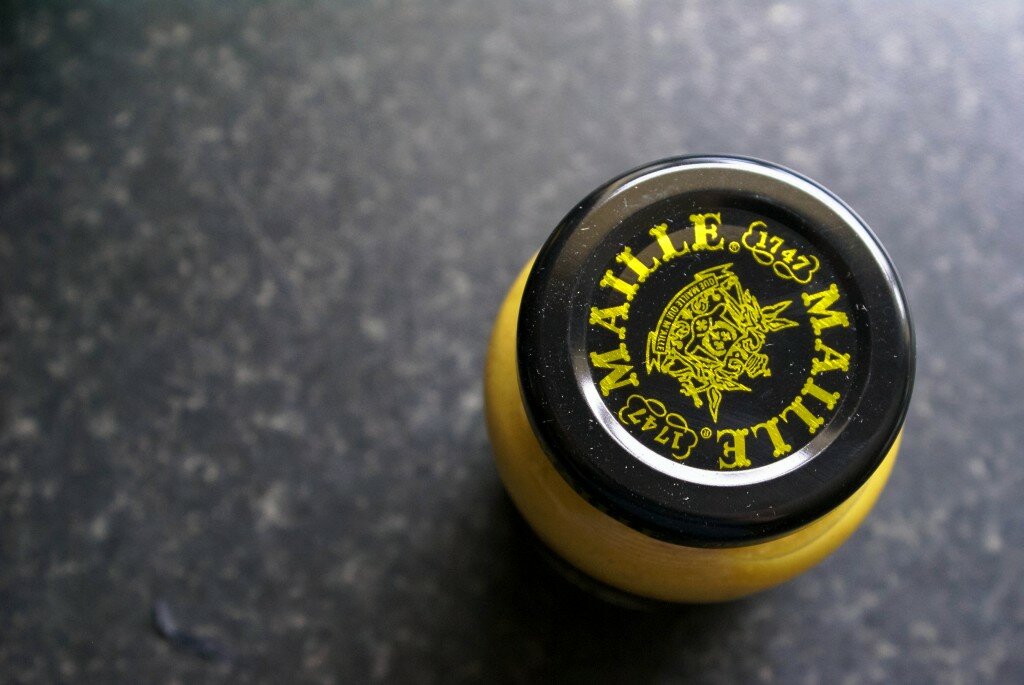
For my challenge I choose to experiment with the Citron et Harissa (Lemon and Harissa) and Dijon et Miel (Mustard with Honey).  My first recipe uses the Lemon and Harissa spiced mustard to make some Spicy Maille Cheese Scones.

spicy maille cheese sconesSONY DSCI started the challenge by trying to add a little spice to a British favourite, the cheese scone.  Scones are usually made with a fluted round cutter but I came across these little star shapes first and thought they would be cute stacked one on top of the other.  I did wonder if they would be a little dry because of this but they were lovely and moist still and deliciously flavored with a bit of a spicy hit.



SONY DSCSONY DSCSONY DSC

Here’s how to make my Spicy Maille Cheese Scones -
RECIPE INGREDIENTS:

Preheat the oven to 220 degC

  • 1tsp Maille Lemon and Harissa Mustard
  • 3oz (75g) hard cheese – I used a mixture of Cheshire and Mature Cheddar
  • 2 1/2 – 3 tbsp buttermilk
  • 2 tsp diced fresh or dried chives
  •  6oz (175g) Self Raising Flour
  • 1oz (25g) butter, plus extra for greasing
  • 1 large egg
  • 1/2 teaspoon salt

For the topping

  • A splash of milk
  • a handful of grated cheese

RECIPE INSTRUCTIONS:

  1. Sift the flour into a bowl and add the mustard and salt
  2. Add the butter and rub in by hand until the mixture resembles breadcrumbs
  3. Gently mix in the chives and cheese
  4. Next beat the eggs with the buttermilk
  5. Gently add to the dry ingredients with a knife and if the mixture is too dry add 1/2 tbsp buttermilk)
  6. Use your hands to bring the mixture together until it leaves the bowl clean
  7. Roll out the dough 1.5cm thick on a lightly floured surface and cut your shapes. (I used a star cutter, and layered mine but you could cut thicker scones using a more traditional round fluted cutter)
  8. Brush each scone with milk then stack them two high on a baking trap and sprinkle a little cheese on the top
  9. Bake in the oven on a high shelf for 15-20 min until golden brown
  10. Remove from oven and leave to cool before serving with butter.

March 28, 2013
by Jenni Clutten
1 Comment

Chocolate Orange Fudge Sauce

This months Center Parcs Challenge was inspired by Easter and encouraged us to make some sweet treats.  I often make cakes but haven’t made confectionery for ages so this was just the excuse I needed to head out, to get the ingredients, to make some yummy fudge. Or … Continue reading

Categories: center parcs, cooking, recipes | Tags: | Permalink

February 11, 2013
by Jenni Clutten
2 Comments

Pancake Day Recipes

I love pancakes!  I used to make big fat fluffy ones quite regularly for breakfast while we were without child but these days such spontaneity happens only very occasionally   Which is why pancake day was a great excuse to make that bit of extra effort … Continue reading

Categories: center parcs, food, recipes | Permalink

January 29, 2013
by Jenni Clutten
2 Comments

Tried and tested recipes

For just a few dishes in my repertoire I am rather glued to the same old recipes that I have tried and tested and don’t think I can tweak to make any better.  They are usually simple and delicious, which … Continue reading

Categories: recipes, round up | Permalink

October 11, 2012
by Jenni Clutten
0 comments

Banana Oat Teething Biscuits – Baby Led Weaning Recipe

I have had 2 rather over ripe bananas sitting in the fruit bowl for some time, and yesterday seemed like the last day of their life span by making some banana oat teething biscuits.  We are due a weekly shop … Continue reading

Categories: baby led weaning, cooking, recipes | Permalink

Thai Chicken Curry with Cauliflower Rice with TOTAL Greek Yoghurt

September 17, 2012 by Jenni Clutten | 0 comments


I heard on the radio the other day that it is estimated that most people have 8 recipes that they use to get them through the week.  I often feel so tired of the usual suspects, working out what to pair with potato, pasta or rice.  So it’s nice to do something a bit different, and add something delicious to the usual repertoire.

A few weeks ago I spotted a lovely Thai Red Curry recipe on the TOTAL Greek Yogurt website and asked if I showcase it here.  I was sent the ingredients on Friday and couldn’t wait to make it.  This is just one of a thousand new recipes and usage suggestions.  You can find out more their website


Ingredients:

  • 100g TOTAL Greek Yoghurt 
  • 30g creamed coconut
  • 100ml boiling water
  • 1tbsp coconut oil
  • 150g thinly sliced chicken (aprox 2 chicken breasts) (or tofu)
  • Thai curry paste, to taste (I used 2 tbsp for baby 3 for us)
  • 2-3 peppers, chopped in to strips
  • 2 x handfulls mushrooms, sliced
  • 1/2 cup of green beans
  • 1/2 cup of mangetout
  • 50g cauliflower, grated

Directions:

  1.  Slice up all the vegetables and the chicken into thin bite size strips.
  2. Boil 100ml of water in a smal saucepan and add the creamed coconut until it had softened.
  3. In a frying pan or wok, heat the coconut oil and add the chicken. Lightly fry until cooked through.
  4. Add the creamed coconut and water mixture to the chicken,  then add the yoghurt, Thai paste, mixed peppers, mushrooms, mangetout  & green beans.
  5. Simmer on a medium heat for 10 – 15 minutes, stirring every so often. Add more water if you prefer a runnier curry.  I added a bit more yoghurt to make it nice and creamy with a thicker sauce.
  6. Grate the cauliflower using a cheese grater, knife or food processor, until it resembles rice.
  7. Place the cauliflower in a microwavable bowl and cover with cling film. Poke holes in the cling film. It is important to NOT add water. Microwave on full blast for 4 – 5minutes until soft.
  8. Serve the cauliflower with the curry and tuck in!

 I have to say this dish was really delicious and Nye really liked it too.  He had a good suck on the peppers and managed to get through several pieces of chicken.  I didnt add any seasoning but it was really full of flavour.  The thing that really surprised me was the cauliflower ‘rice’. It was so quick and easy  but I worried the strong flavour and smell of cauliflower would overpower everything else.  In the end it added a lovely sweetness to the spicy curry.  I can’t help but marvel at what an amazing alternative to rice it is.

I would usually have made this kind of recipe with coconut milk which I don’t often have in the fridge so it is fantastic to realise that I can make this with yogurt  and use the coconut oil to give it that nutty taste.

Many thanks to Total Greek Yoghurt for letting me share this recipe and for providing me with all the ingredients to do so.  We’ve been at a wedding all weekend and I couldn’t wait to get home and finish off the leftovers!

This recipe is one of many others being profiled on blogs across the interweb, see if you can find them all and you can win a fantastic prize.  Find all 30 recipes posted across the blogospher and you can win Paul Merrett’s list of essential kitchen equipment. The lucky winner will get this amazing wish list including the very best cookware worth more than £800.  For more information you can visit their website or their brand new , so you don’t even have to leave Facebook to get inspiration for dinner ‐